


How to Install Laminate Flooring (Step-by-Step)
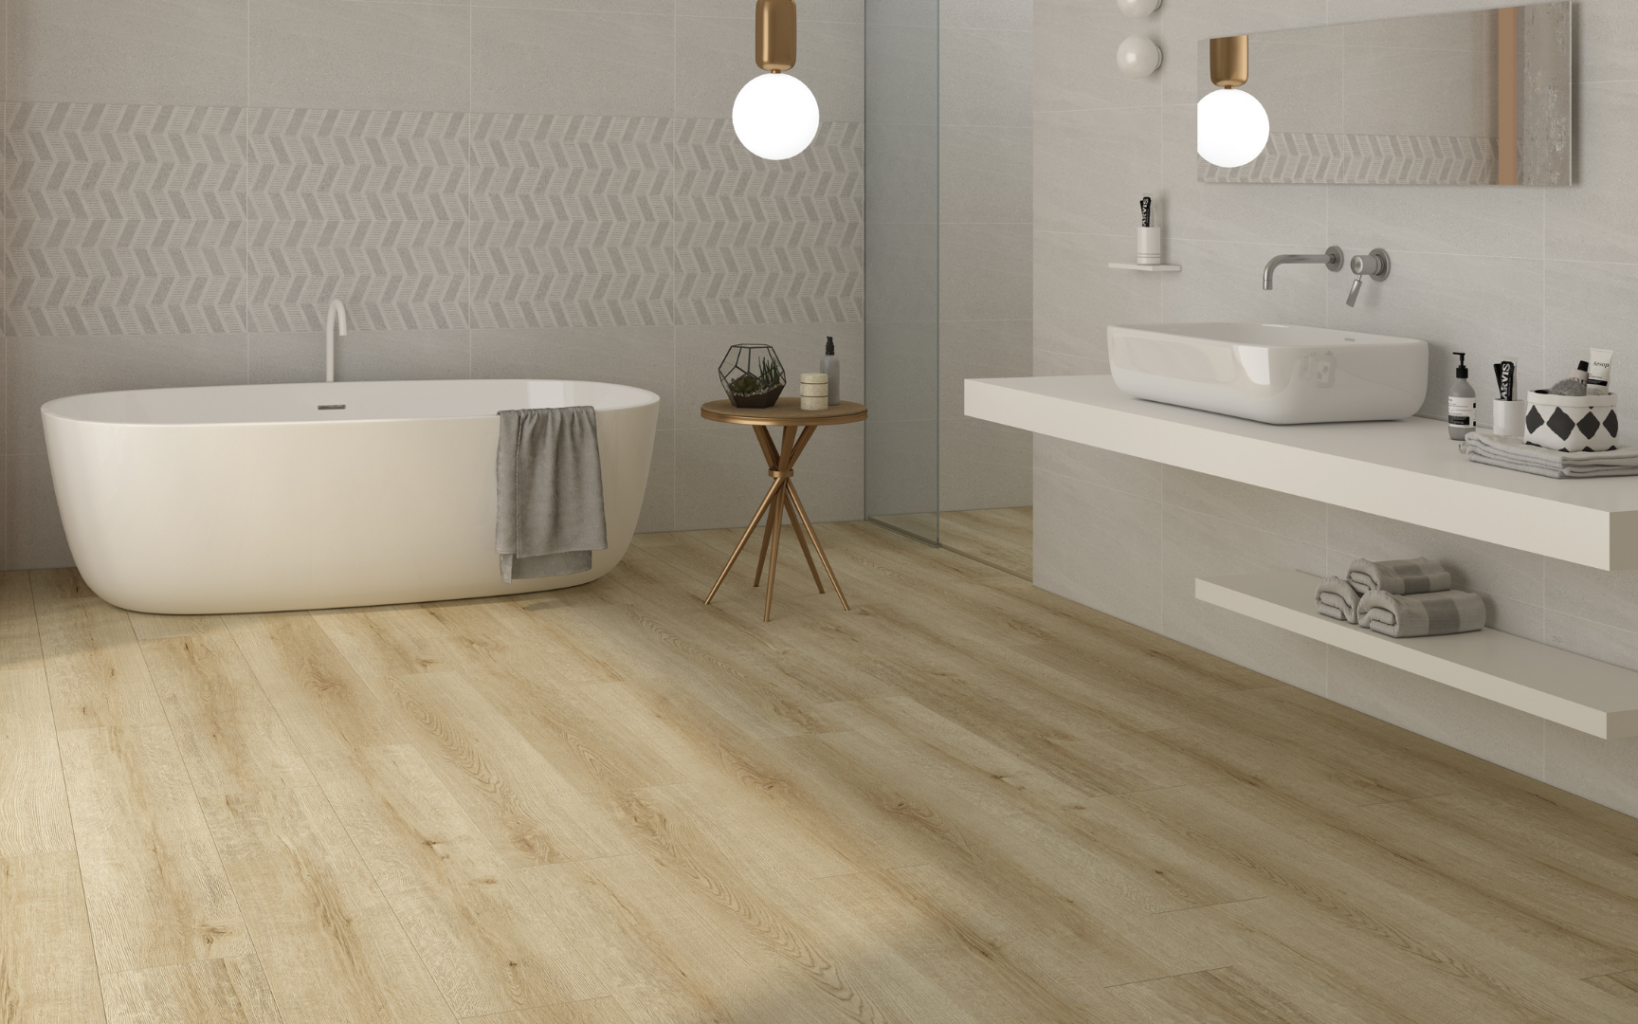
Installing laminate flooring is a relatively simple weekend project, even for first-time DIYers. The floating planks click together over the subfloor, with no glue, nails, or specialized tools needed.
This step-by-step guide covers how to install laminate flooring from start to finish, from preparing the subfloor and laying the first row to cutting planks and fitting the final row. You’ll also follow a real installation from DIY creator Sadie Mae John, who used Audacity’s waterproof laminate flooring in her own living room.
Can you install laminate flooring yourself?
Yes, you can install laminate flooring yourself. Laminate flooring is one of the most DIY-friendly floors available. The planks use a tongue-and-groove click-lock system that floats over the subfloor, so you do not need adhesives or a professional crew. If you can measure, make straight cuts, and follow a sequence, you can install laminate flooring. Plan on one weekend for an average room, plus 48 hours beforehand to let the planks acclimate.
Tools and materials you’ll need
Gather everything before you start so the installation goes smoothly:
- Laminate planks (order about 10 percent extra for cuts and waste)
- Moisture barrier (for concrete or below-grade subfloors)
- Spacers for the expansion gap
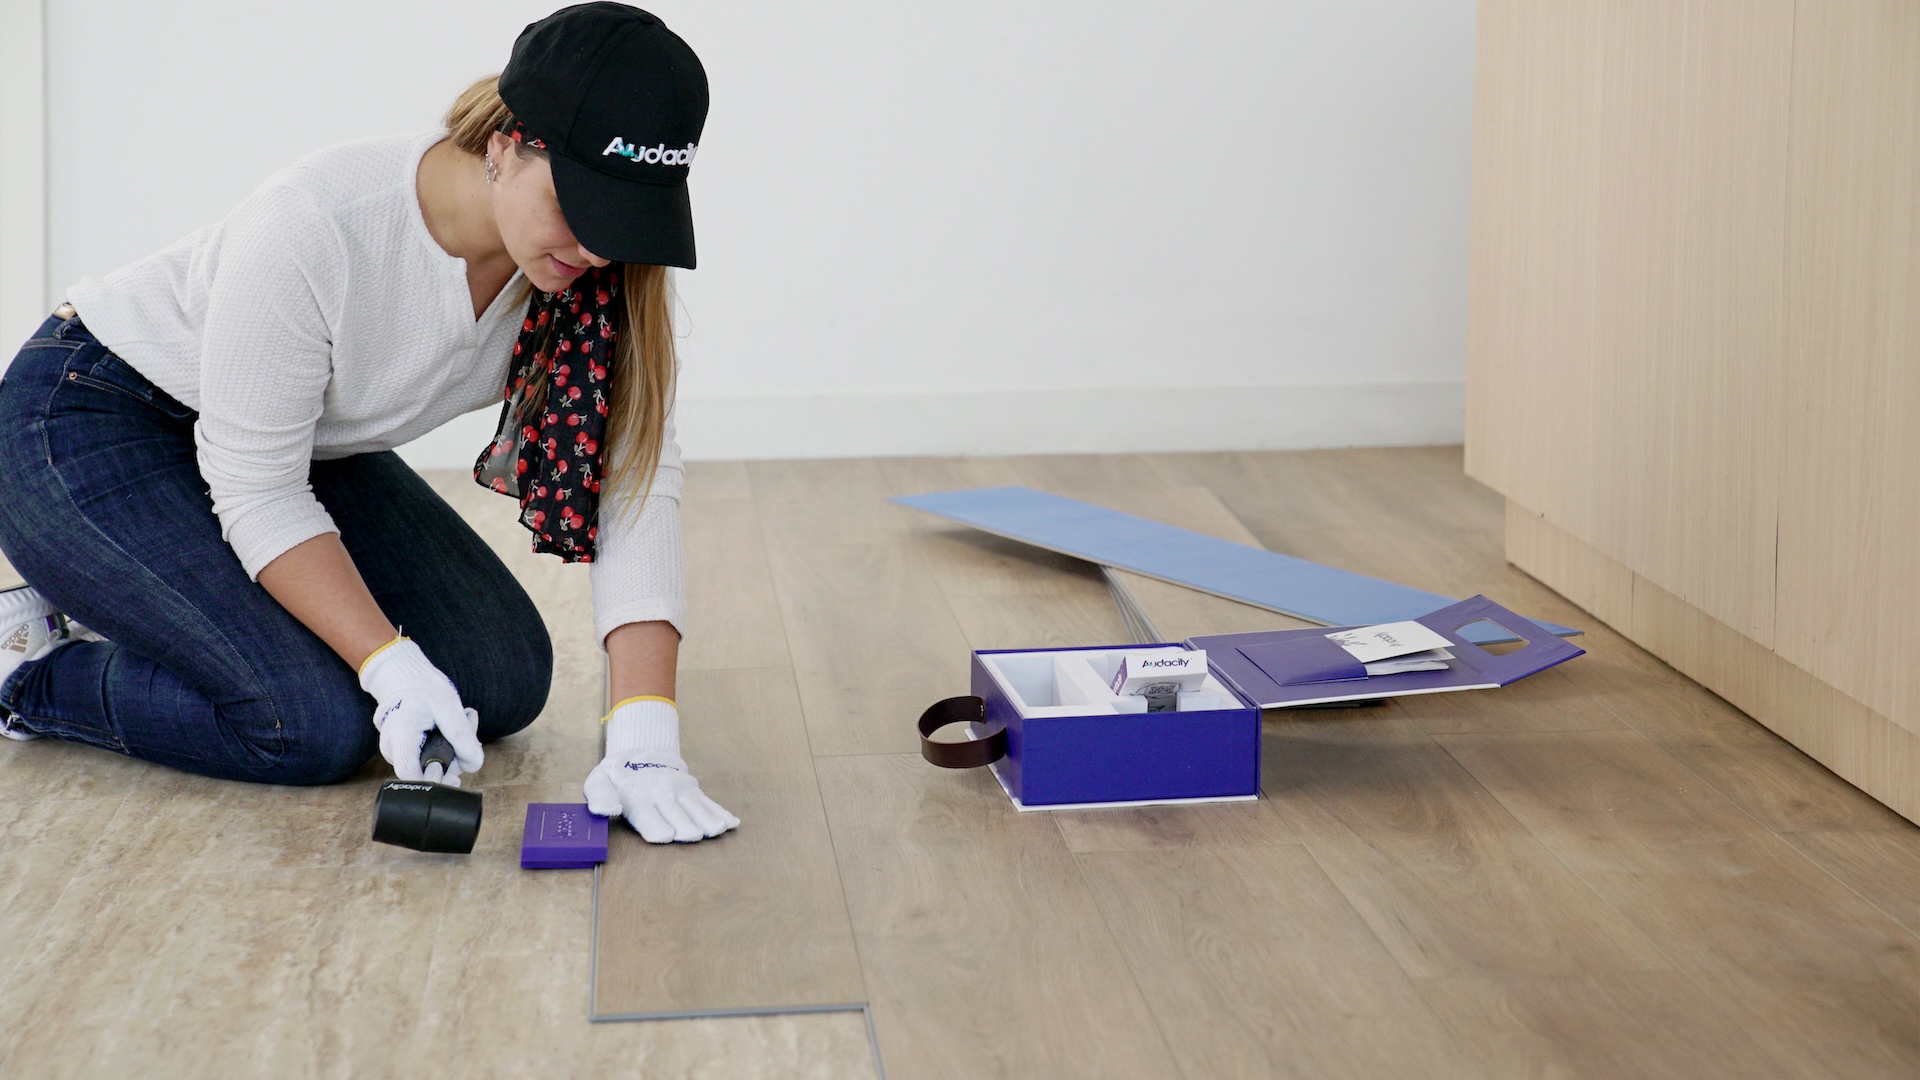
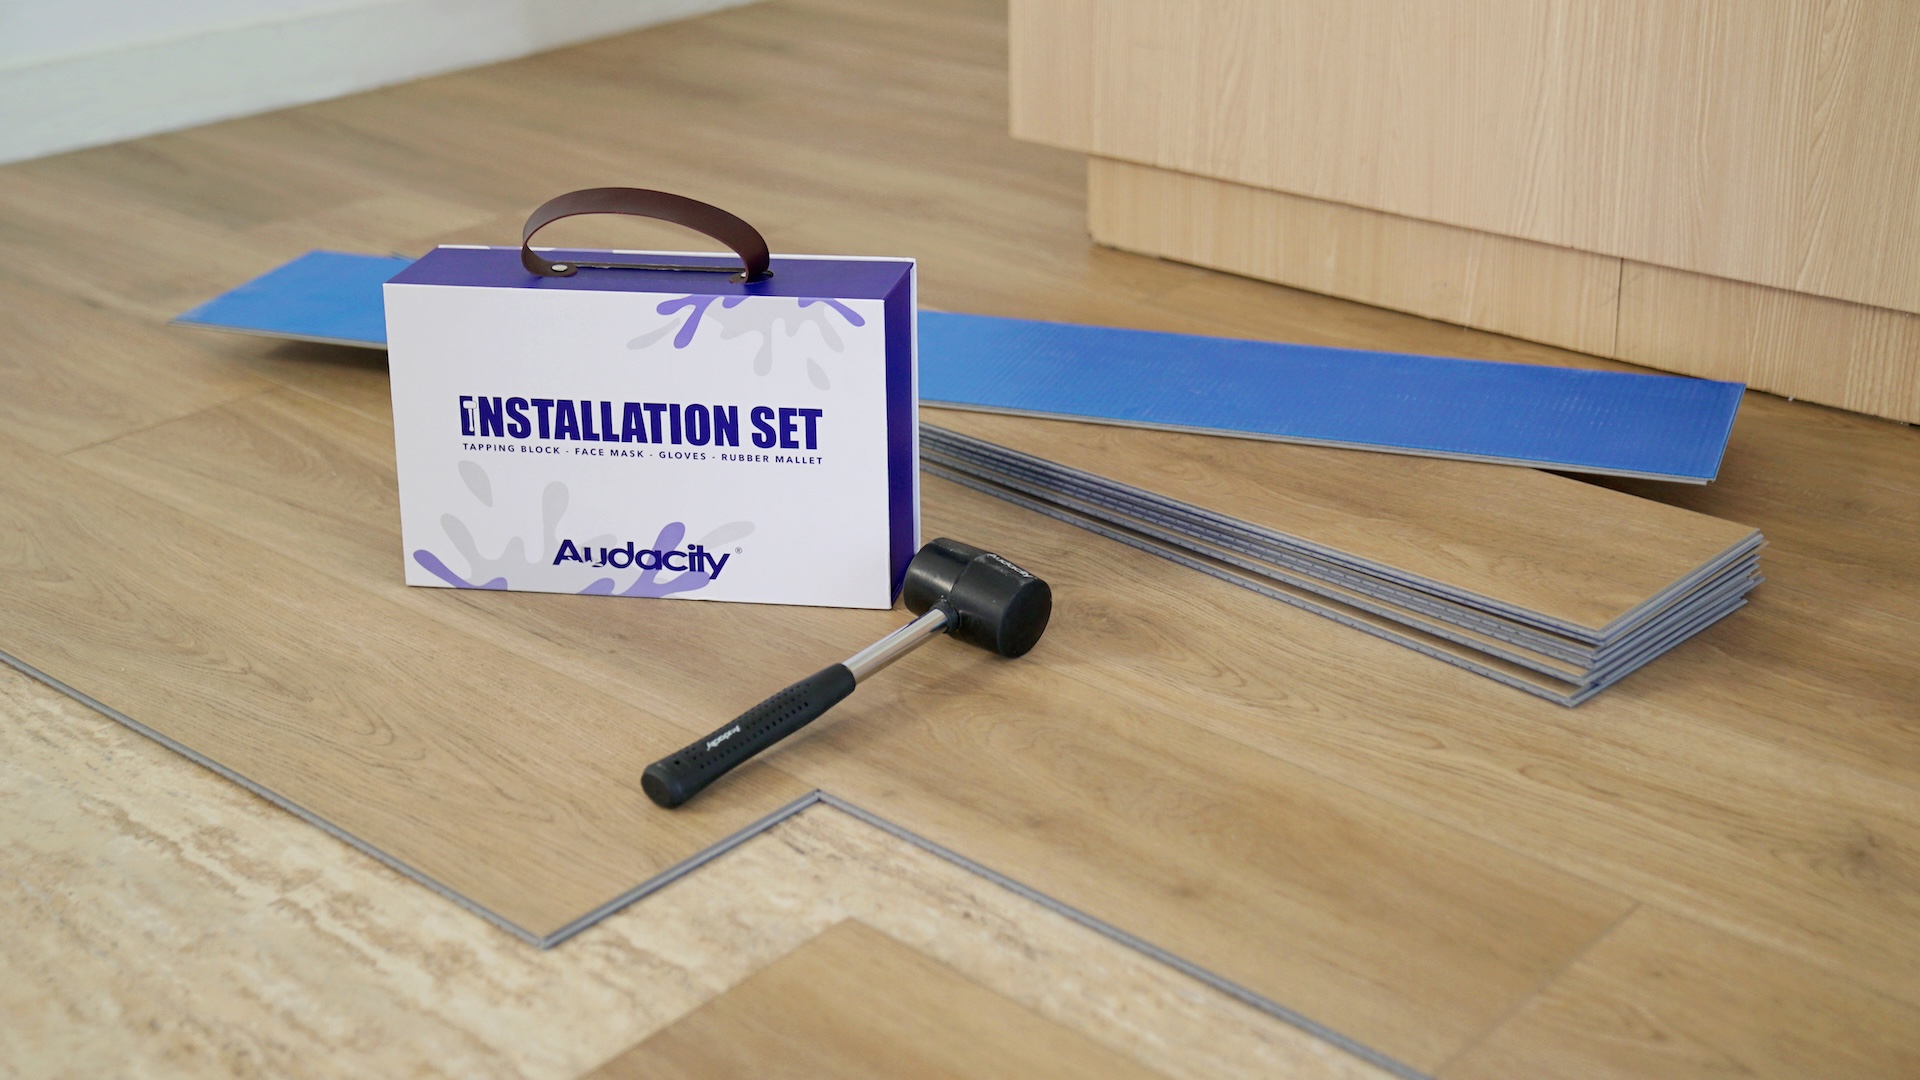
- Tapping block and pull bar
- Rubber mallet
- Tape measure, pencil, and a straightedge or level.
- Chalk line for a straight first row
- Utility knife, plus a jigsaw or circular saw for detailed cuts
- Jamb saw or handsaw to undercut door casings
- Safety gear: eye protection, knee pads, and gloves
Before you start: subfloor prep and acclimation
Prep the subfloor
Take the room back to a clean, flat subfloor. Remove the old flooring, pull the baseboards and shoe molding, and undercut the door casings so planks can slide underneath later. Laminate installs over most existing hard surfaces, but it still needs to be flat, within about 1/8 inch over a 10-foot span.
Check it with a straightedge or level. Fill low spots with a leveling compound and sand or grind down the high ones. Skipping this step is the most common cause of soft spots and joints that pop apart later.
Acclimate the planks
Bring the sealed boxes into the room where they will be installed and leave them flat for at least 48 hours, at the room’s normal temperature and humidity. Unlike rigid core flooring, laminate can expand and contract with changes in temperature and humidity, so acclimating first keeps the floor from buckling or gapping after it is down. Keep the boxes away from vents and exterior walls where the temperature swings.
Read more on how to install luxury vinyl flooring.
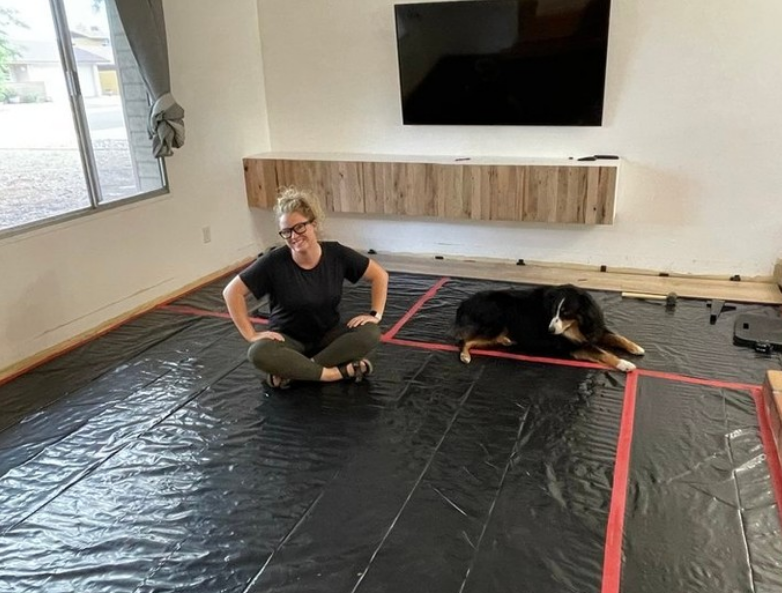
Add a moisture barrier over concrete
If you’re installing over concrete or below grade, install a moisture barrier. To check a slab, tape a square of plastic to it overnight. If condensation forms underneath, install a moisture barrier.
Sadie started with painted concrete in her living room.
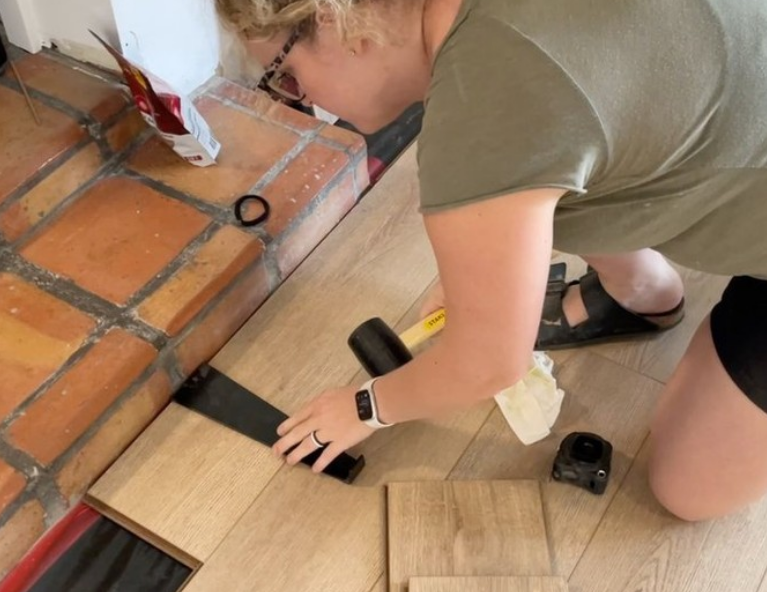
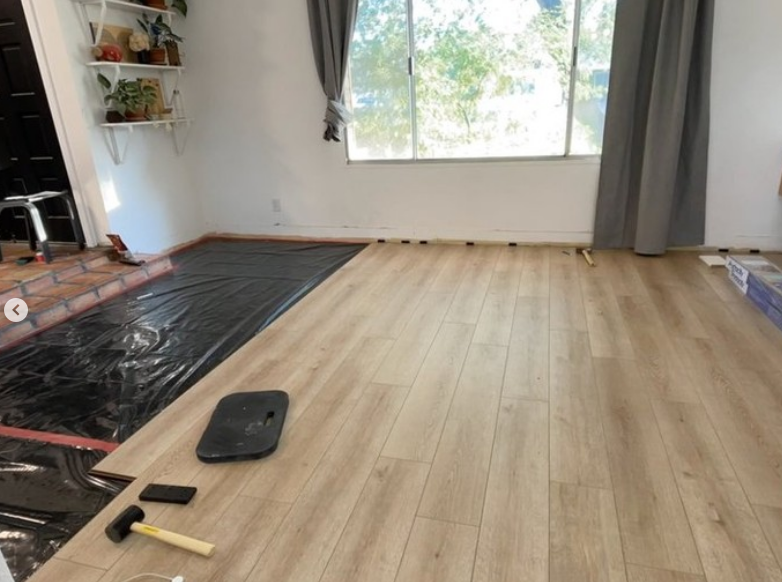
How to Install Laminate Flooring
Step 1: Plan your layout and expansion gap
Measure the room and dry-lay the first row. If it finishes thinner than about 2 inches, trim the first so the last row isn’t a narrow strip. Run the planks along the longest wall or toward the main source of natural light, which makes the room feel larger. Open several boxes and mix planks as you go so color and grain variation spread evenly. Leave a 1/4-inch expansion gap around every wall, pipe, and fixed object. Laminate needs room to expand and contract with seasonal humidity changes.
Step 2: Lay the moisture barrier
If you’re going to install laminate over concrete or another moisture-prone subfloor, lay a moisture barrier across the surface before installing the planks. Overlap and seal the seams according to the manufacturer’s instructions, and make sure the barrier lies flat without wrinkles or gaps.
Step 3: Install the first row
Start in the left corner of the longest wall, tongue side facing the wall, and spacers in place. Snap a chalk line for a perfectly straight reference. Some installers trim the tongue off the first row so it sits flush to the wall. A straight, square first row sets up the entire floor, so measure twice and take your time here.
Step 4: Stagger the seams and lock the planks
Angle each plank into the one before it and press down until it locks into place, tapping gently with a tapping block and mallet to close any gaps. Never strike a plank edge directly. Stagger end seams by at least 8 to 12 inches from row to row, and avoid lining up identical planks or repeating a pattern side by side for a stronger, more natural-looking floor.
Step 5: Cut planks to fit
Measure and cut each plank to fit edges, doorways, and obstacles. Score with a utility knife and snap for straight cuts, or use a flooring cutter, jigsaw, or circular saw for cleaner and curved cuts. To keep the finished edge from chipping, cut decorative side up with a handsaw and decorative side down with a jigsaw or circular saw.
Step 6: Fit the final row and finish
Remove the spacers, then reinstall the baseboards or add trim, and use transition strips at doorways and where the floor meets another surface, or as needed. The floor is ready to use right away, with no drying or curing time.
Common Mistakes When Installing Laminate Flooring
Most laminate flooring installation problems trace back to a handful of shortcuts:
Skipping the expansion gap.
Laminate flooring needs room to expand and contract with seasonal changes. Without a 1/4-inch gap, it can peak or push against the walls.
Not acclimating the planks.
Planks installed before acclimating can gap or peak as they adjust to the room.
Not leveling the subfloor.
Uneven subfloors stress the joints, while trapped moisture can cause laminate flooring to fail.
Little or no stagger.
End seams lined up row to row are weaker and read as an obvious grid.
Forcing the click.
If a joint will not close, lift and reseat it rather than pounding, which damages the locking edge.
How to cut laminate around doorways, pipes, and vents
The finishing details are what separate a clean install from an obvious DIY one:
Door casings
Undercut the trim with a jamb saw so the plank slides underneath, instead of notching the plank.
Pipes and radiators
Drill a hole about 1/2 inch wider than the pipe, cut a wedge out to slot the plank around it, then glue the wedge back in.
Floor vents
Measure the opening carefully so the register sits flush, and keep the expansion gap around ducted openings, too.
Durability Put to the Test
Audacity’s laminate flooring is made for the everyday messes and mishaps that put flooring to the test. Its stain-, scratch-, and impact-resistant surface helps it stand up to busy family life, so you can spend less time worrying about your floors and more time enjoying your home.
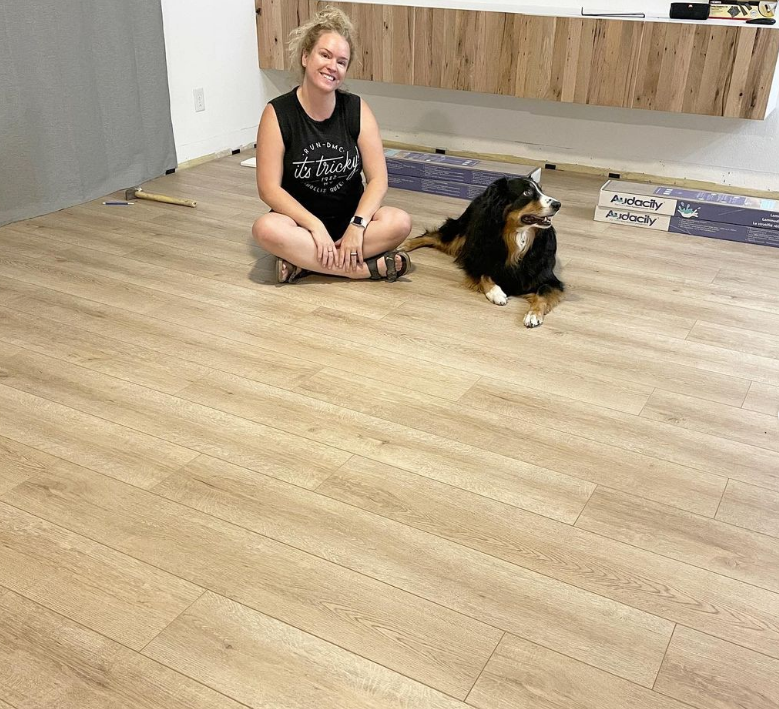
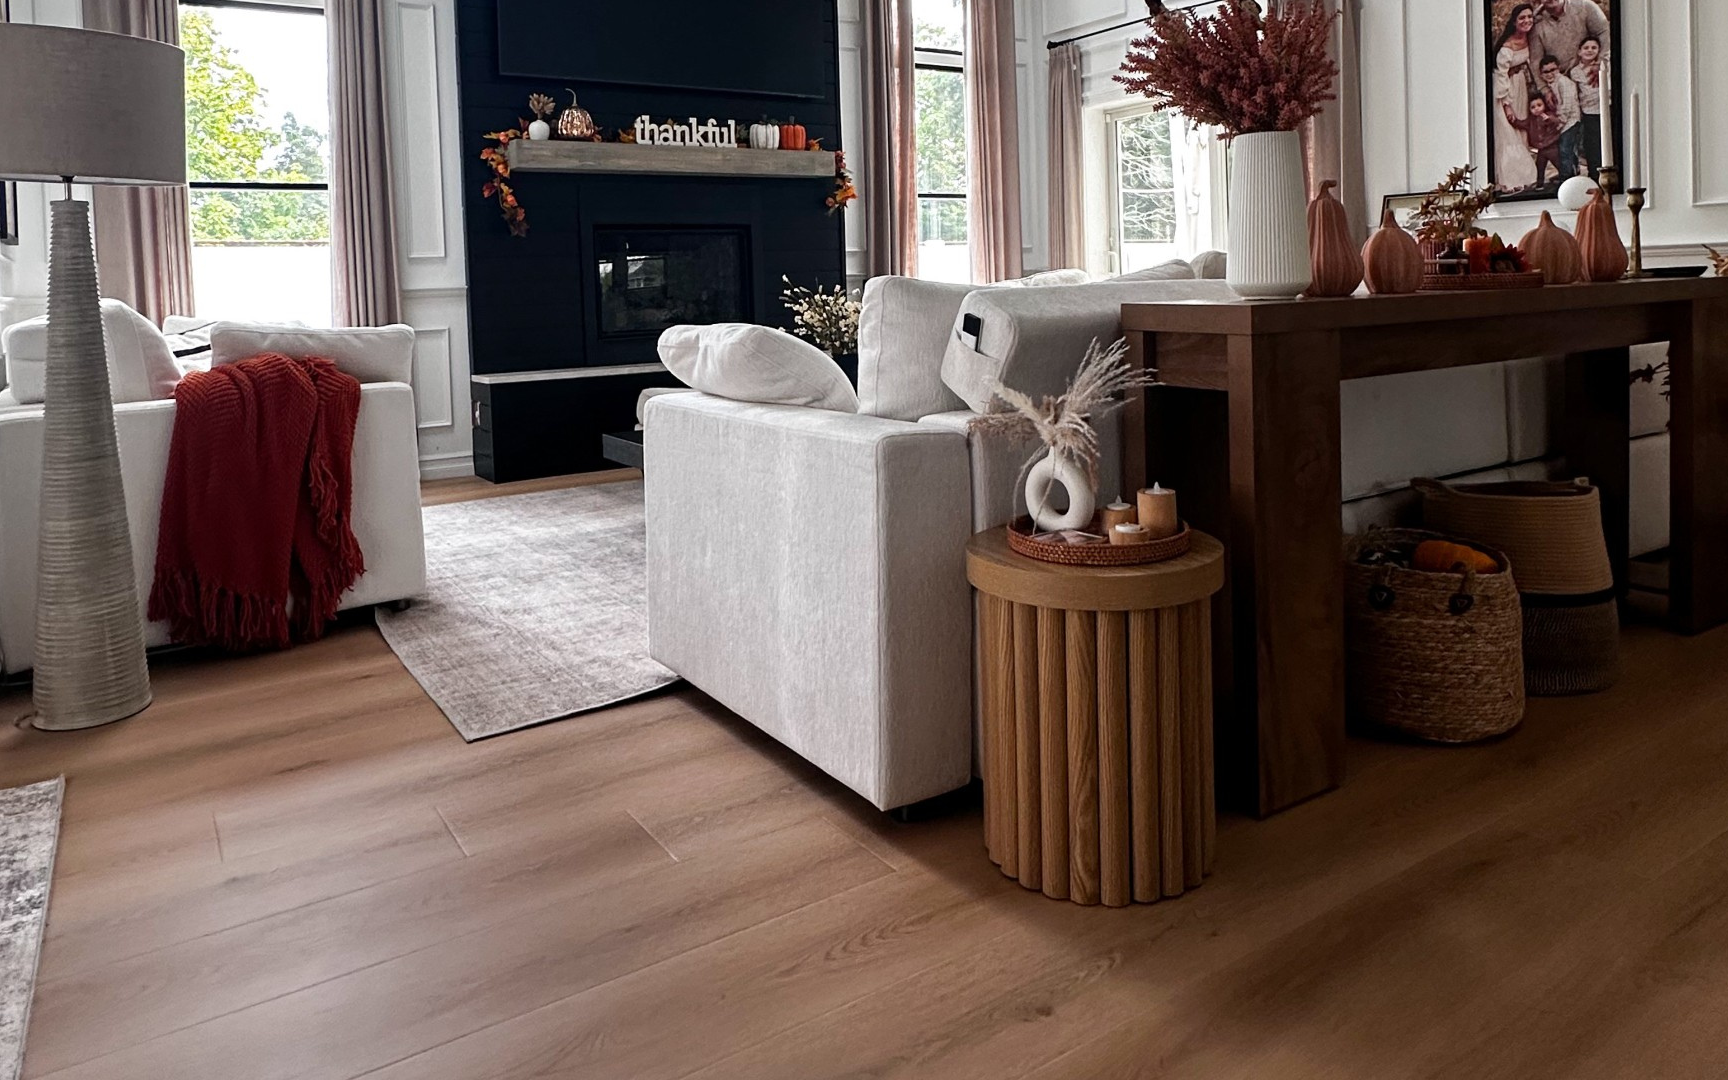
Sadie chose Audacity’s Oslo for its combination of durability and style, giving her a floor that can keep up with her dog, Oscar, without compromising the look she wanted.
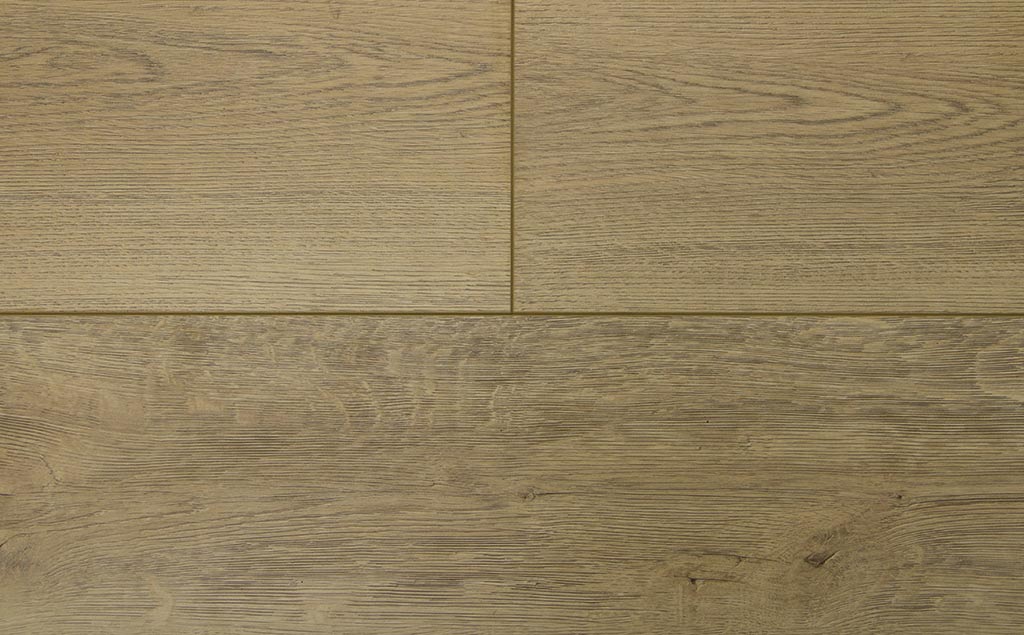
Oslo
Oslo is the light, warm wood-look plank Sadie chose from the Classica Naturals collection. Its soft grain and honey-toned finish add warmth and brightness, making it a natural fit for spaces from bathrooms to open-plan living areas.
Sadie installed Oslo over her painted concrete subfloor, where it continues to keep up with everyday life and her dog, Oscar.
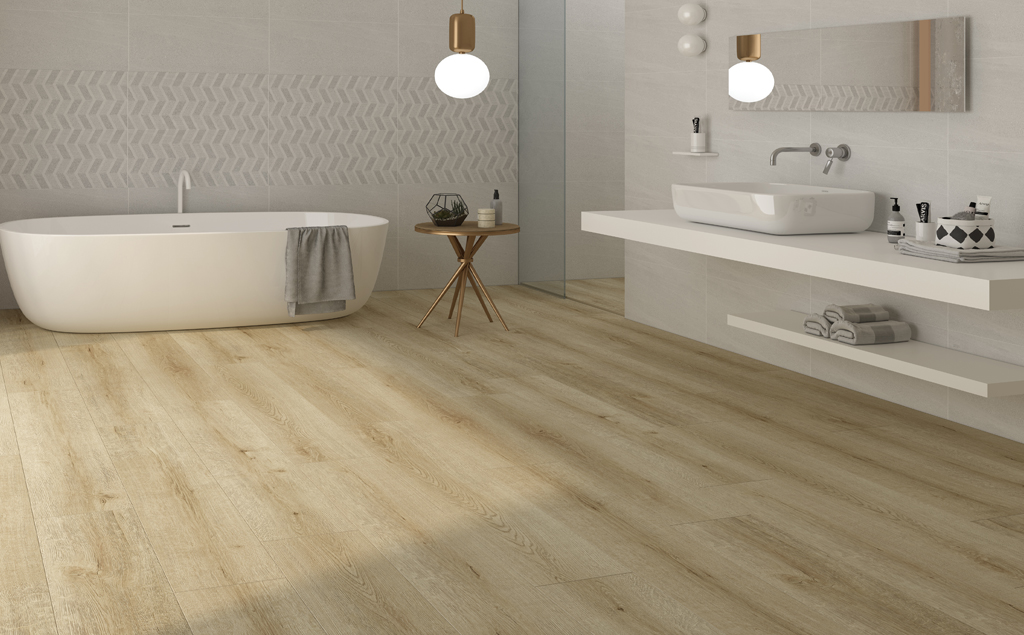
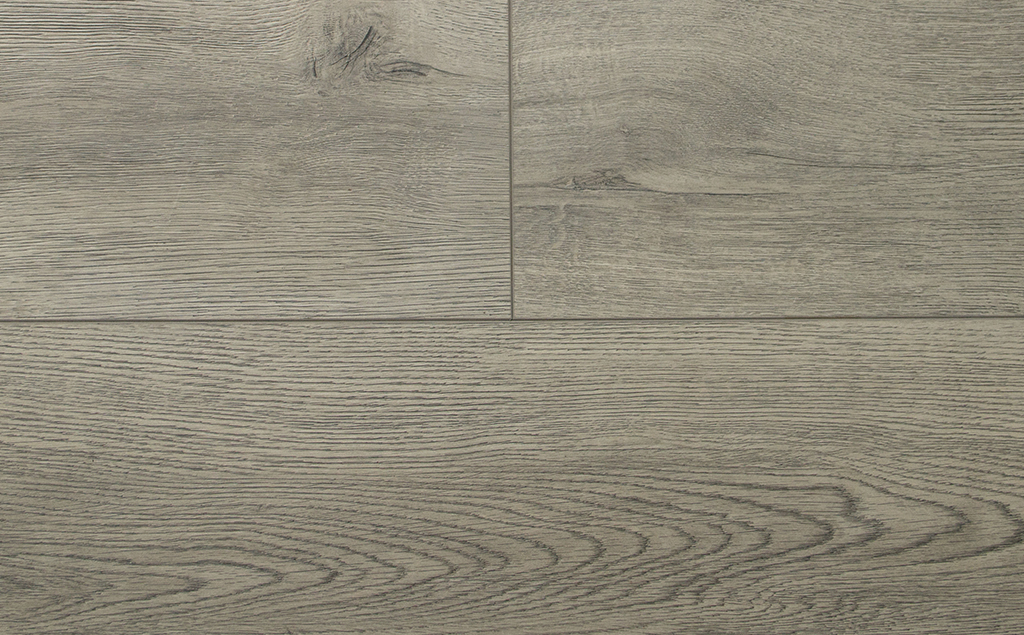
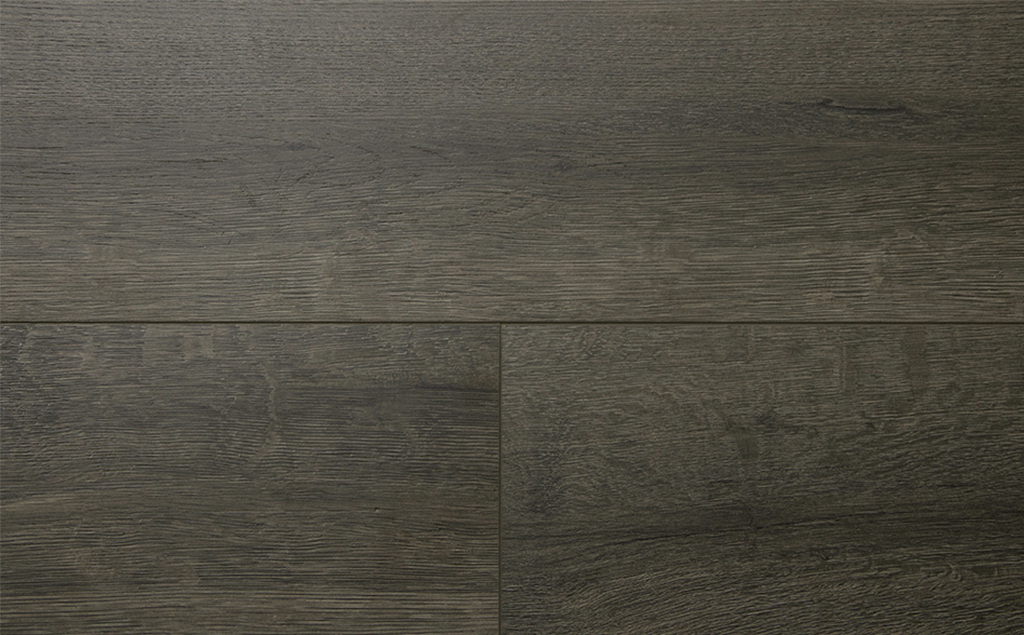
The Classica Naturals Collection
Explore the full Classica Naturals Collection and discover why Audacity’s waterproof laminate flooring is trusted by homeowners, designers, and builders alike.
Frequently Asked Questions
-
Can you install laminate flooring yourself? +
Yes. Laminate flooring is designed for DIY installation with a click-lock system that requires no glue or nails. Most rooms take a weekend, plus 48 hours to acclimate the planks beforehand.
-
How long does laminate flooring need to acclimate? +
About 48 hours. Leaving the planks in the room beforehand allows them to adjust to the room’s temperature and humidity, helping prevent movement after installation.
-
Can you install laminate flooring in a kitchen or bathroom? +
Yes, if you choose waterproof laminate flooring. It can be installed in kitchens, bathrooms, and other moisture-prone rooms. Standard laminate is better suited to drier spaces because moisture can cause the planks to swell.
-
How long does it take to install laminate flooring? +
Plan on a weekend for an average room after the planks have acclimated. Subfloor prep and cutting typically take the most time; the click-lock planks themselves install quickly.
-
Which direction should laminate flooring run? +
Run the planks along the longest wall or toward the main source of natural light. Both approaches can make a room feel larger. In a narrow room, running the planks lengthwise can also stretch the space visually.
-
Can you install laminate flooring over existing flooring? +
In many cases, yes. Laminate can float over hard, flat surfaces such as vinyl, tile, or hardwood, as long as they are clean, level, and sound. Remove carpet first, and never install laminate over a soft or uneven surface.
-
Do you glue down laminate flooring? +
No. Modern laminate uses a click-lock system that floats over the subfloor without glue or nails. The interlocking joints and perimeter trim hold the floor in place.
Read More
Inside a Florida Retreat with Made in the USA Flooring
How to Install Vinyl Plank Flooring in Any Room
Find a floor for you
See how Audacity floors transform your space with VisioFloor. Upload a photo and pick the perfect floor!





Need assistance? Fill out the form below to get in touch.