


How to Install Vinyl Plank Flooring in Any Room
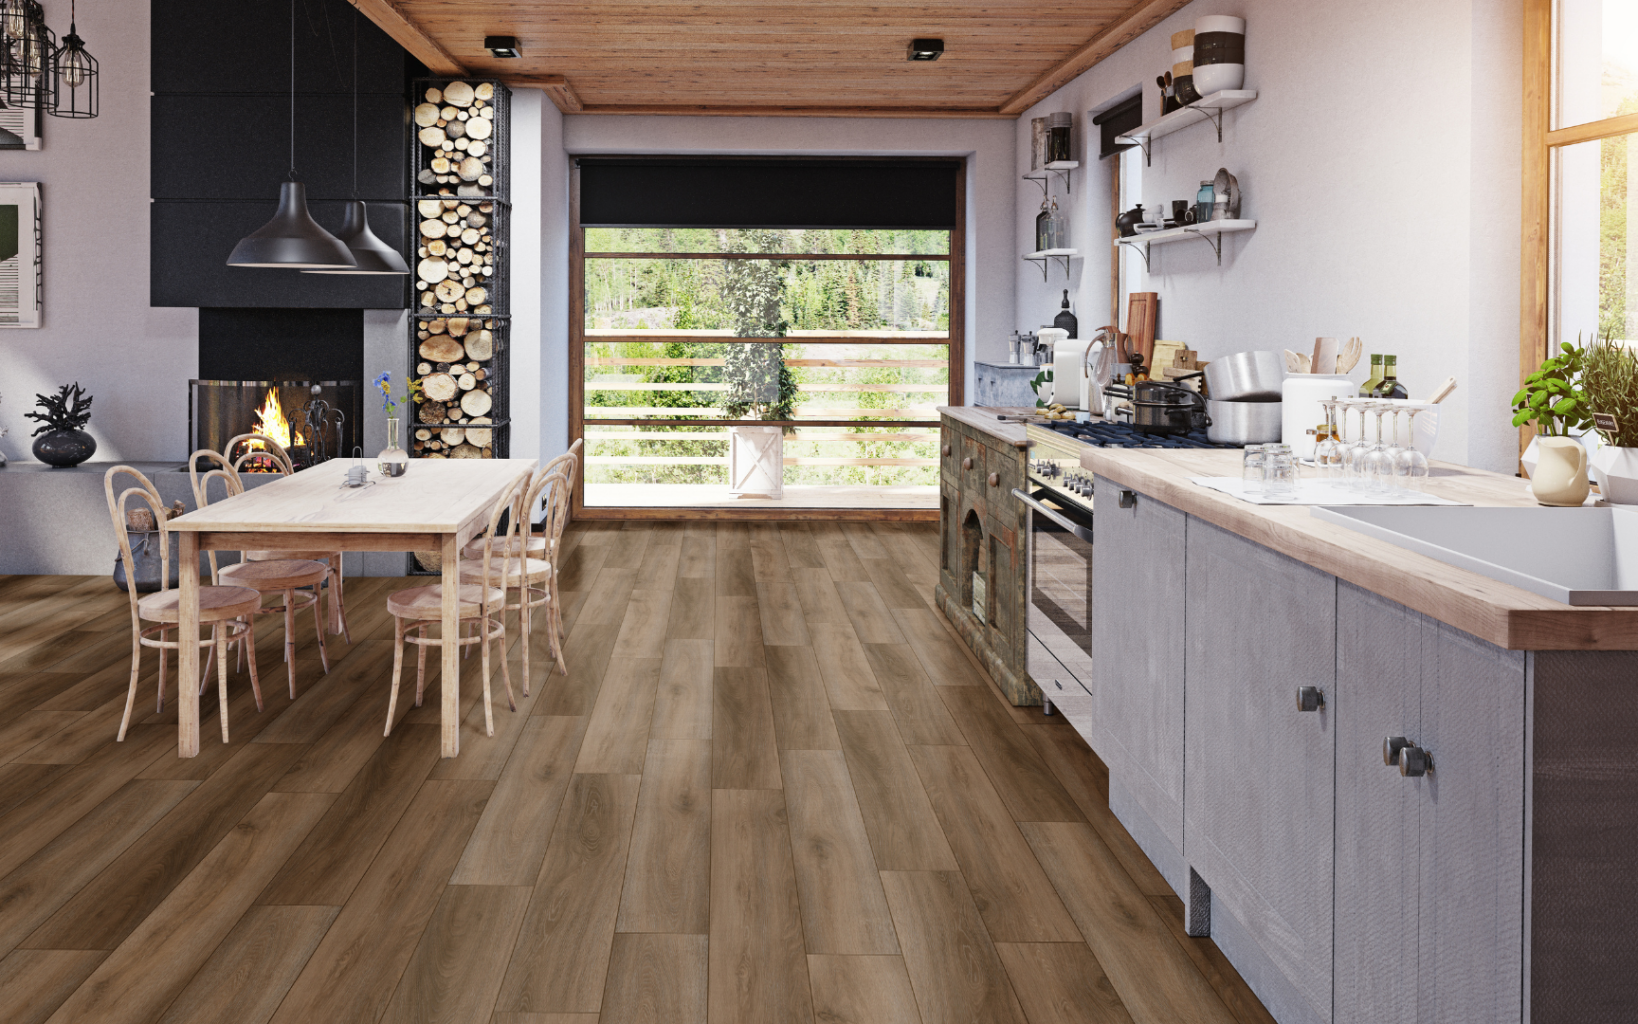
Installing vinyl plank flooring is a straightforward project for most DIYers, and an average room can be completed in a weekend. The click-lock planks float over the subfloor without glue or nails, making the installation process relatively simple.
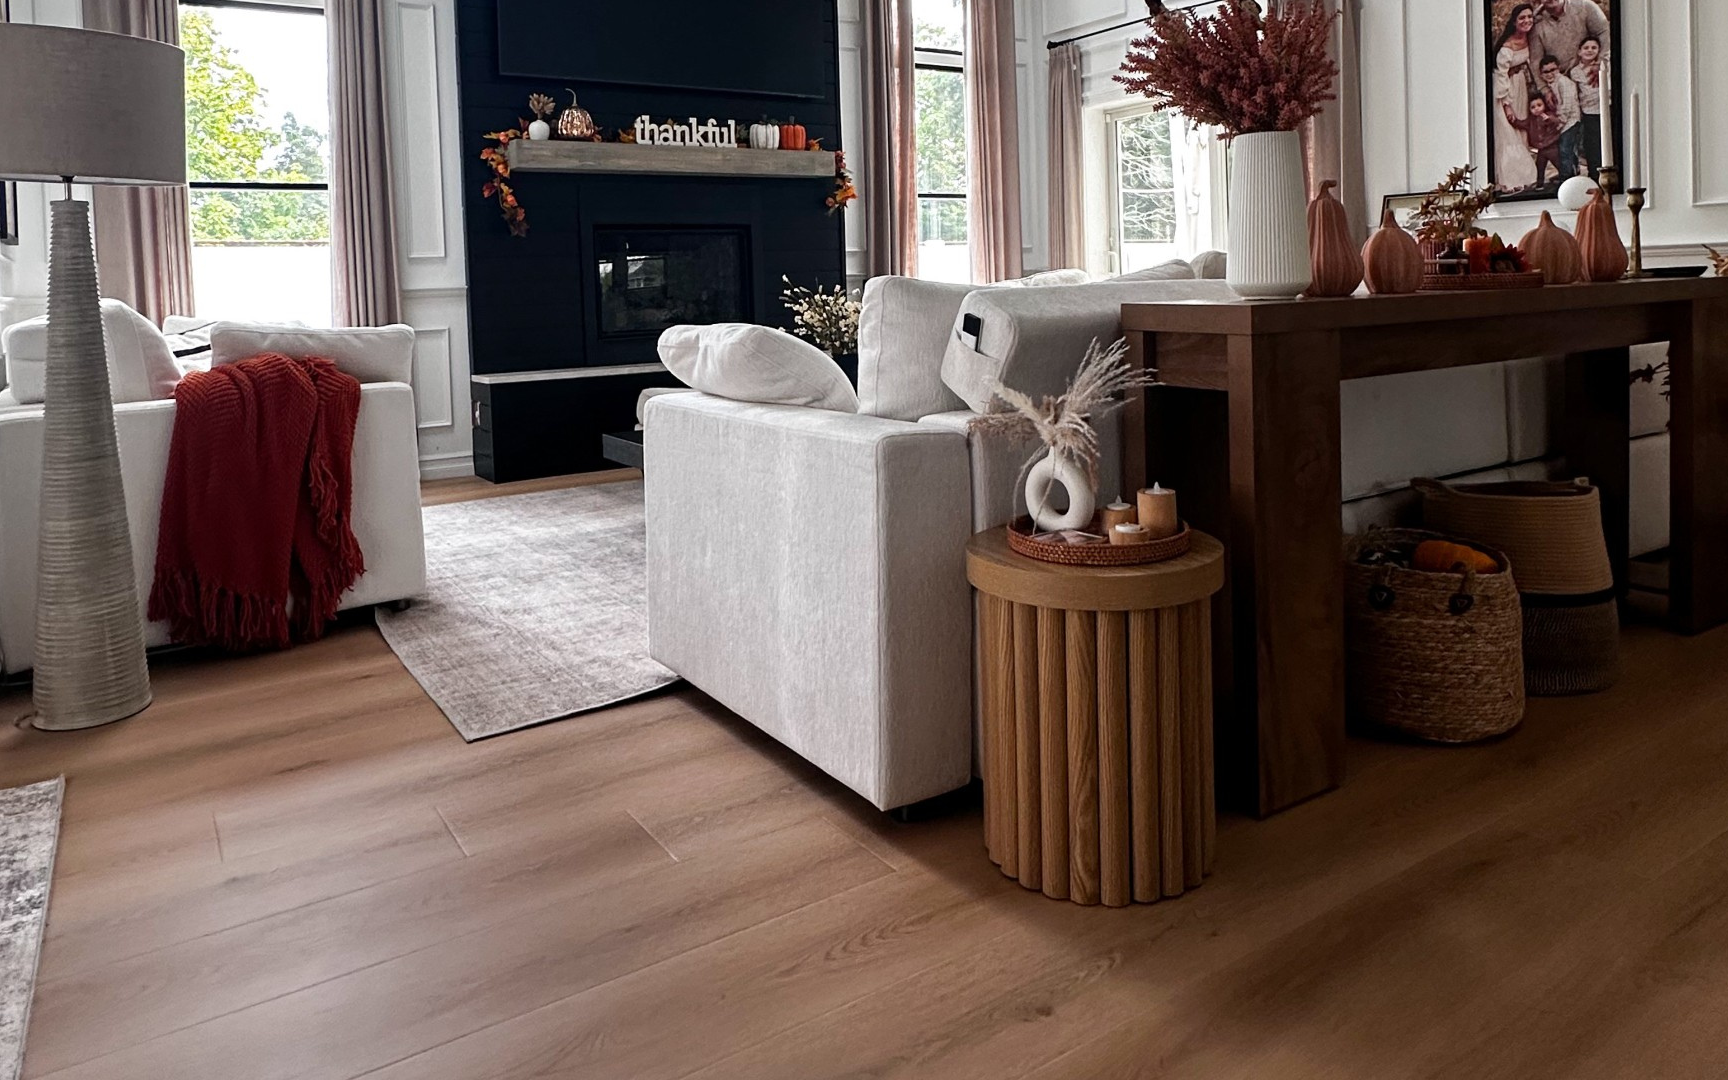
This step-by-step guide walks you through how to install vinyl plank flooring, from preparing the subfloor to fitting the final row. You’ll also see a real installation from DIY creator Jess Davis, who used Audacity’s rigid core flooring throughout her stairs, hallways, and kitchen.
Can you install vinyl plank flooring yourself?
Yes, you can install vinyl plank flooring yourself. Hybrid rigid core flooring is one of the most DIY-friendly flooring options available. They use a slide-and-click locking system that floats over most subfloors, including concrete, wood, and existing hard floors, with minimal prep. If you can measure and make straight cuts, you can install vinyl plank flooring yourself, and most rooms take just a day or less.
What tools and materials do you need?
Gather these tools and materials before you start your luxury vinyl plank flooring installation:
- Luxury vinyl planks (order about 10 percent extra for cuts and waste)
- Moisture barrier (for concrete or below-grade subfloors)
- Spacers for the expansion gap
- Tapping block and pull bar
- Rubber mallet
- Tape measure, pencil, and a straightedge or level.
- Utility knife for score-and-snap cuts, plus a jigsaw for pipes and corners
- Safety gear: eye protection, knee pads, and gloves.
Before you start: subfloor prep, moisture barrier, and acclimation
Prep the subfloor
Clean and dry the subfloor, pull the baseboards and shoe molding, and undercut the door casings so planks can slide underneath later. LVP installs over most existing hard surfaces, but it still needs to be flat, within about 1/8 inch over a 10-foot span.
Check with a straightedge and fill any low spots or sand down high spots. A luxury vinyl flooring plank can bridge dips instead of conforming to them, leaving unsupported areas that can loosen the locking joints over time.
Can you lay it over an existing floor?
Usually yes. Luxury vinyl plank flooring floats over concrete, plywood, tile, and even one layer of existing hard flooring, as long as it is flat, clean, and sound. Remove carpet first. Over tile, fill deep grout lines so they do not telegraph through the finished floor.
Do you need underlayment?
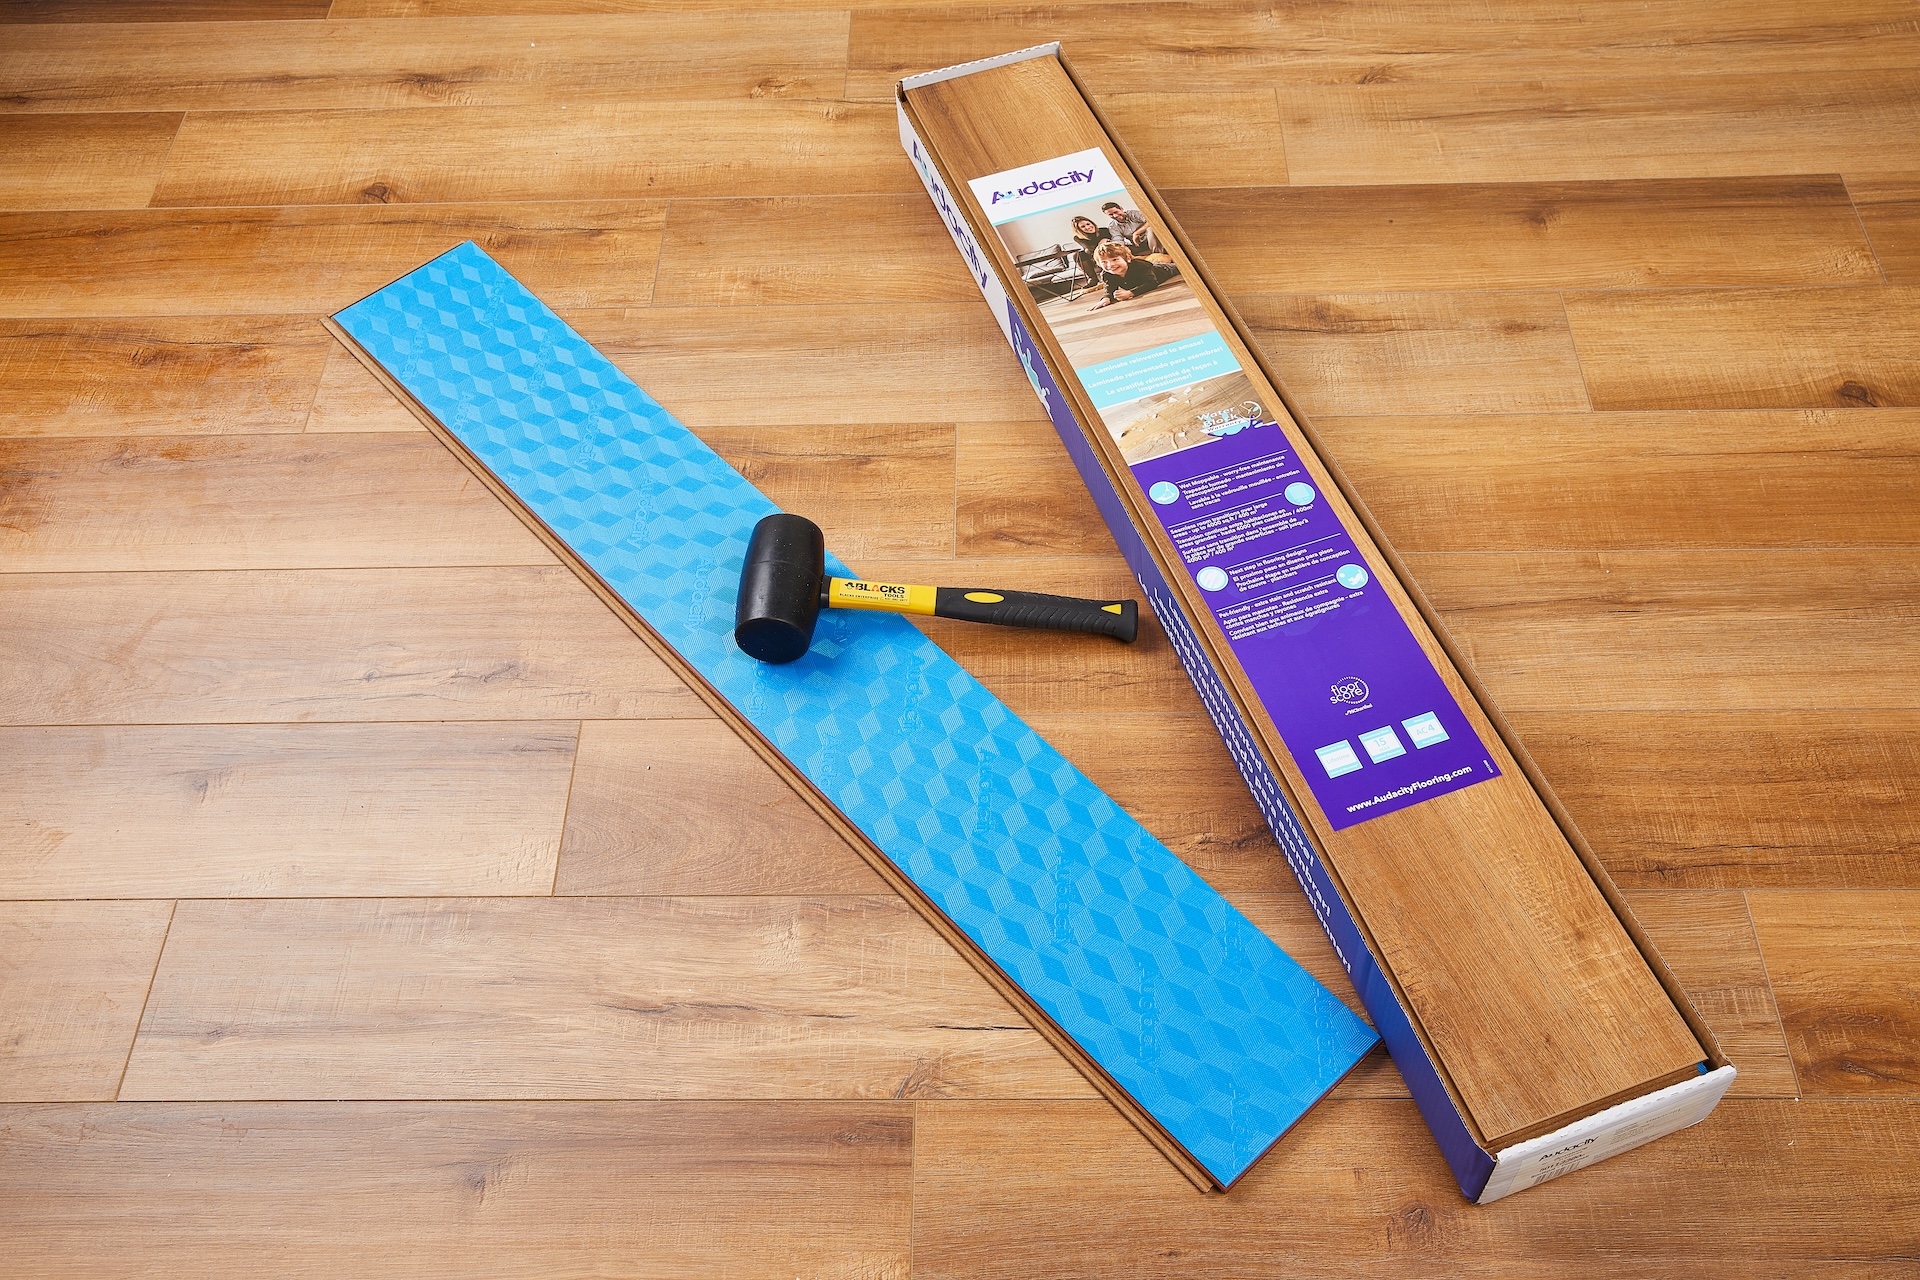
Often no. Many luxury vinyl flooring planks, including Audacity’s, come with a pre-attached pad, so you can usually skip a separate layer. Add underlayment only if your product calls for it, and never double up over an attached pad, which creates too much cushion and stresses the joints.
Do you need to acclimate the planks?
No. Audacity’s luxury vinyl plank flooring needs no acclimation. Unlike waterproof laminate flooring, which typically needs about 48 hours to acclimate, these can be installed the same day it arrives. The stone-based core is highly dimensionally stable, making it suitable for big areas and sunny rooms.
Read more on how to install laminate flooring.
How To Install Vinyl Plank Flooring
Step 1: Plan your layout and expansion gap
Measure the room and dry-lay the first row. If it finishes thinner than about 2 inches, trim the first so the last row isn’t a narrow strip. Run the planks along the longest wall or toward the main light source, and open several boxes to mix planks so color and grain spread evenly. Leave a 1/4-inch expansion gap around every wall, pipe, and fixed object.
Step 2: Install the first row
Start in the left corner of the longest wall, tongue side facing the wall, and spacers in place. Snap a chalk line for a perfectly straight reference. Some installers trim the tongue off the first row so it sits flush to the wall. A straight, square first row sets up the entire floor, so measure twice and take your time here.
Step 3: Click and stagger the planks
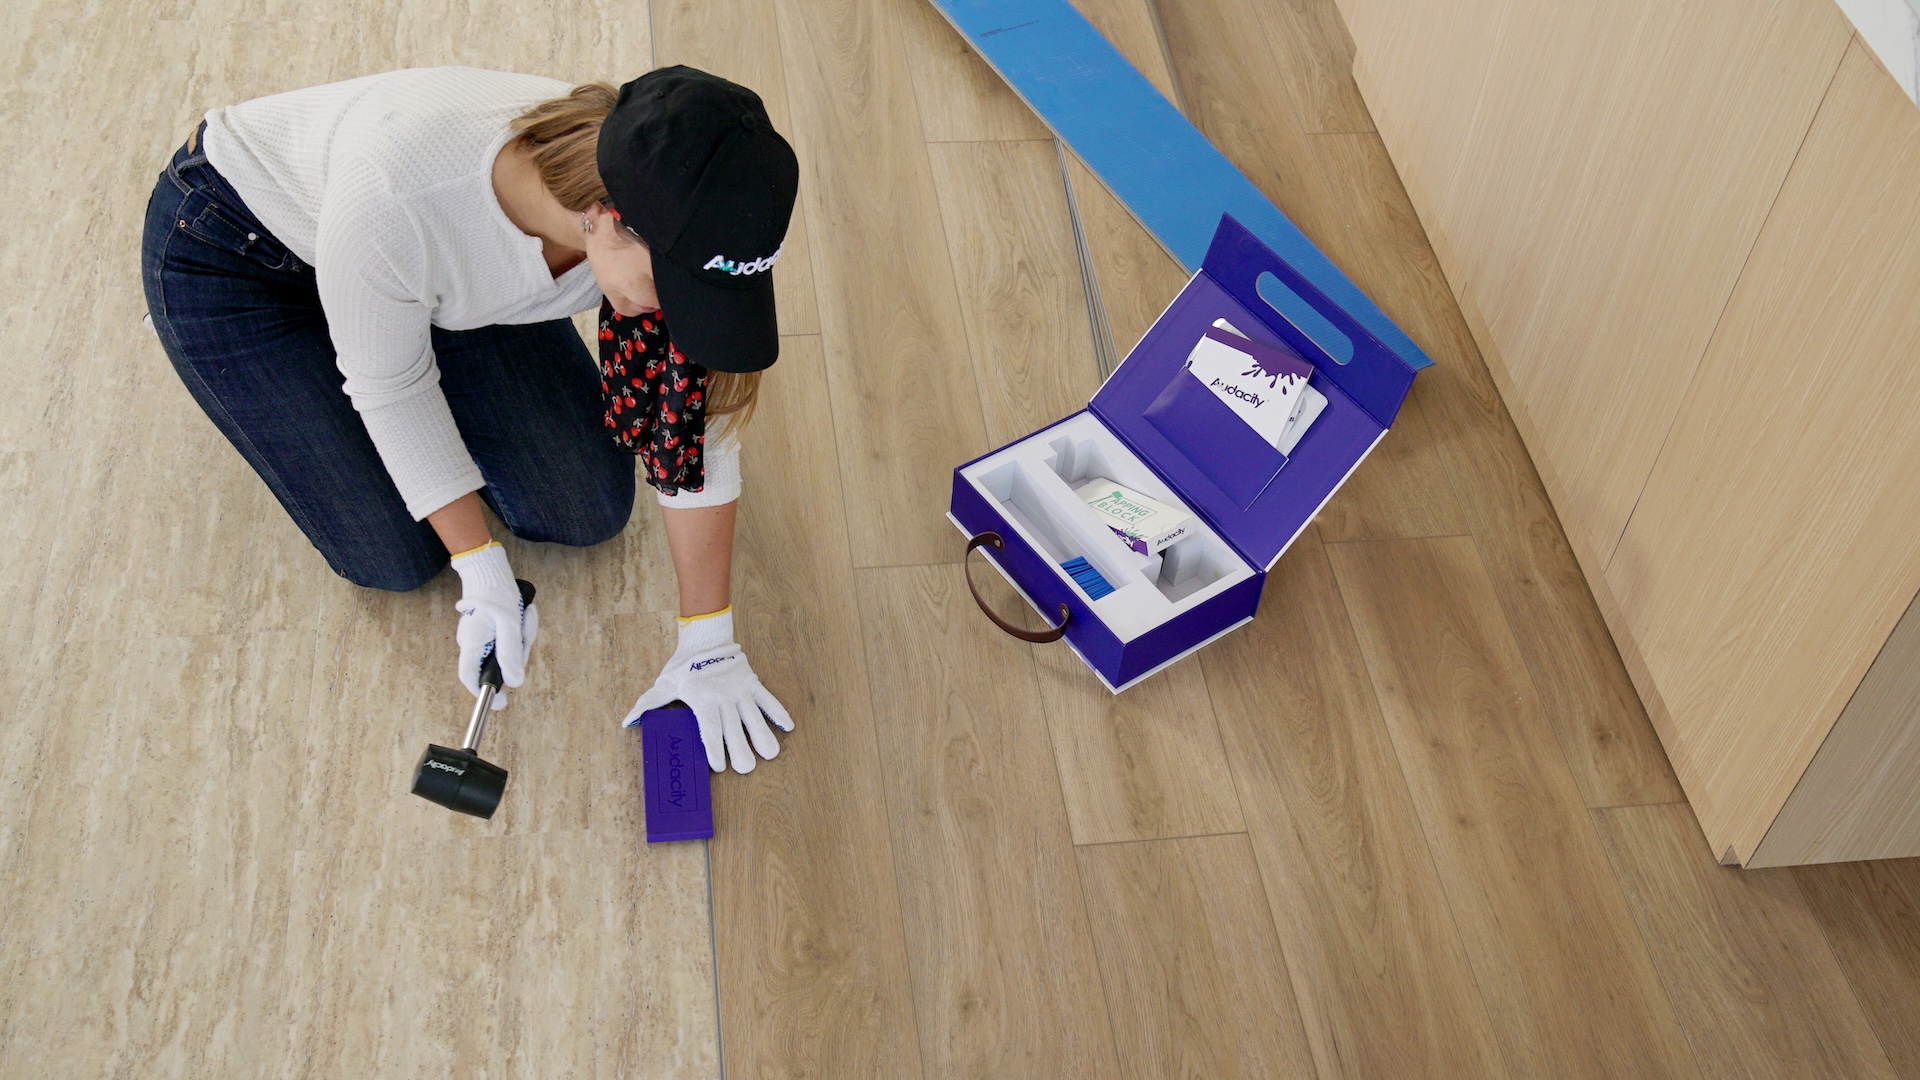
Angle each plank into the one before it and press down until it locks into place, tapping gently with a tapping block and mallet to close any gaps. Never strike a plank edge directly. Stagger end seams by at least 6 to 8 inches from row to row, and avoid lining up identical planks or repeating a pattern side by side for a stronger, more natural-looking floor.
Step 4: Cut planks to fit
Measure and cut each plank to fit edges, doorways, and obstacles. Score with a utility knife and snap for straight cuts, or use a flooring cutter, jigsaw, or circular saw for cleaner and curved cuts. To keep the finished edge from chipping, cut decorative side up with a handsaw and decorative side down with a jigsaw or circular saw.
Step 5: Handle stairs and doorways
Stairs are their own job. Measure each tread, cut the plank to fit, and finish the edge with stair nosing so the step is safe and clean. On a staircase without an existing bullnose, you can build the tread from planks, the approach Jess used to carry her floor onto the steps. At doorways, undercut the jamb so the plank slides underneath instead of being cut around it.
Step 6: Finish the edges
Remove the spacers, then reinstall the baseboards or add trim, and use transition strips at doorways and where the floor meets another surface, or as needed. The floor is ready to use right away, with no drying or curing time.
Common Mistakes When Installing Vinyl Plank Flooring
Most luxury vinyl plank flooring installation problems trace back to a handful of shortcuts:
Skipping the expansion gap.
Even luxury vinyl flooring needs room to expand and contract with seasonal changes. Without a 1/4-inch gap, it can peak or push against the walls.
Laying over an uneven subfloor.
Planks bridge dips instead of hiding them, and a hollow underfoot can work a joint loose.
Doubling up the underlayment over an attached pad.
Too much cushion makes the floor spongy and stresses the locking edges.
No stagger, or too little.
End seams lined up row to row are weaker and read as an obvious grid.
Forcing a joint.
If it will not click, lift and reseat rather than pounding the edge.
Where You Can Install Vinyl Plank Flooring
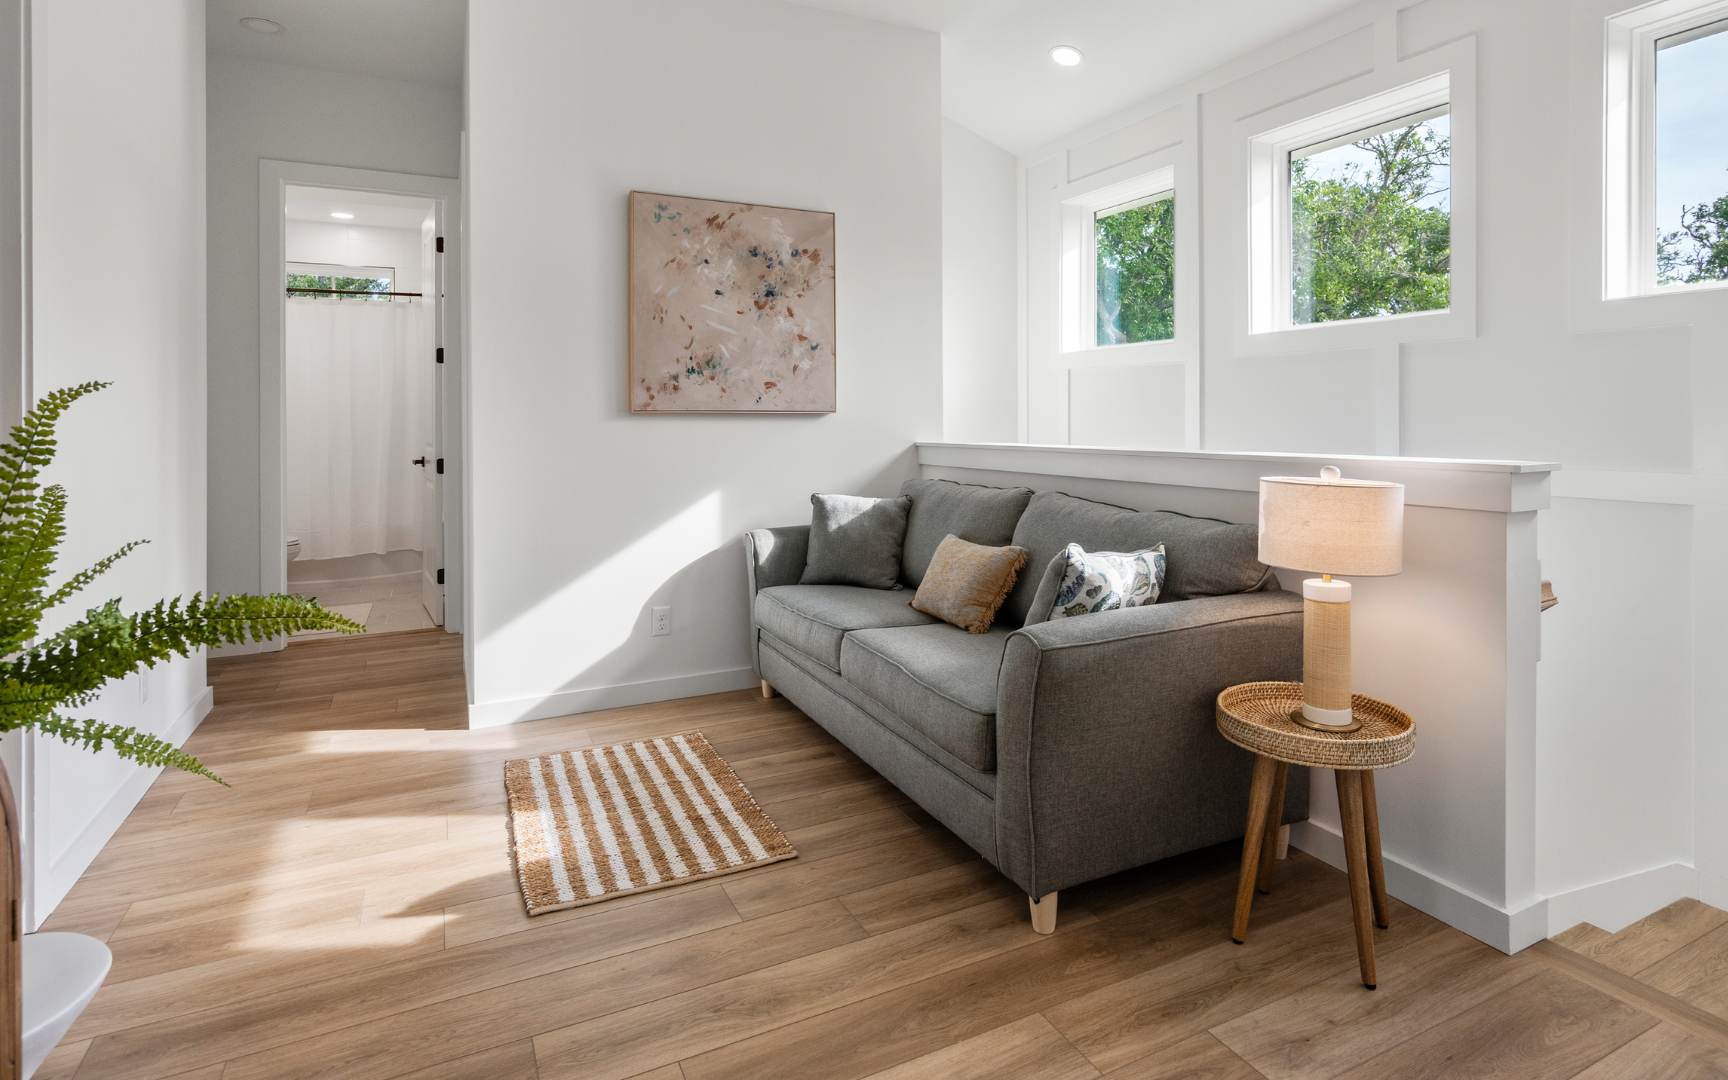
Because it is waterproof and dimensionally stable, luxury vinyl plank flooring can go almost anywhere in the home. Jess installed hers across several tricky spots:
Stairs
The slide-and-click system makes stair installs fast. Measure each tread, finish with stair nosing, and on stairs without a bullnose, you can build the tread from planks, the approach Jess used to carry her floor onto the steps.
Hallways and open areas
Audacity’s luxury vinyl flooring can cover areas up to 6,200 sq ft (620 sqm) without transition strips, making it well-suited for long runs and open floor plans.
Kitchens, bathrooms, and basements
Luxury vinyl flooring is fully waterproof, so it will not swell or buckle in high-moisture rooms. Install it with confidence in kitchens, bathrooms, basements, and beyond.
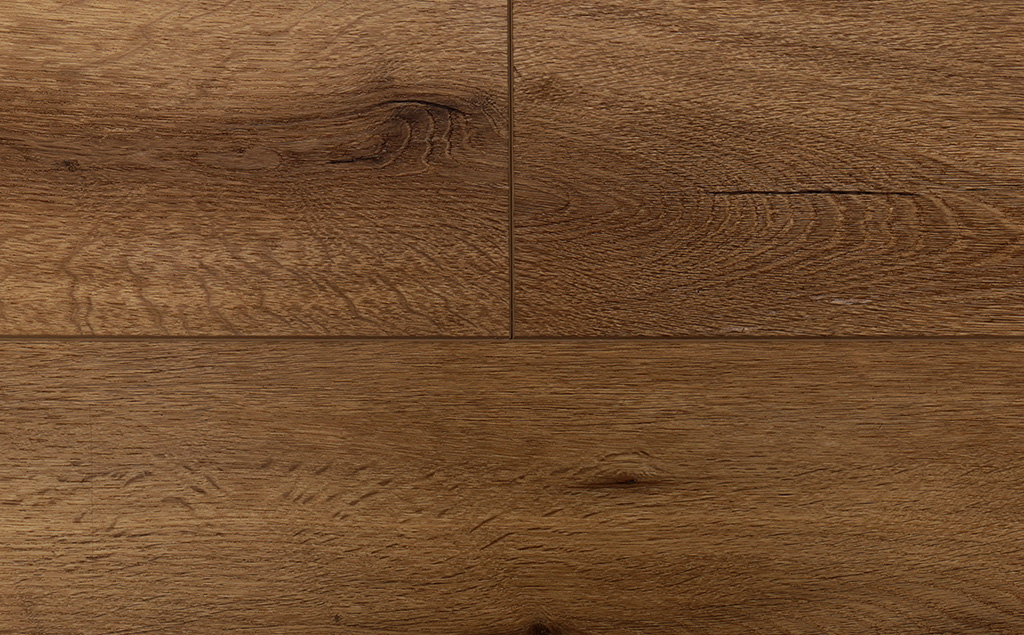
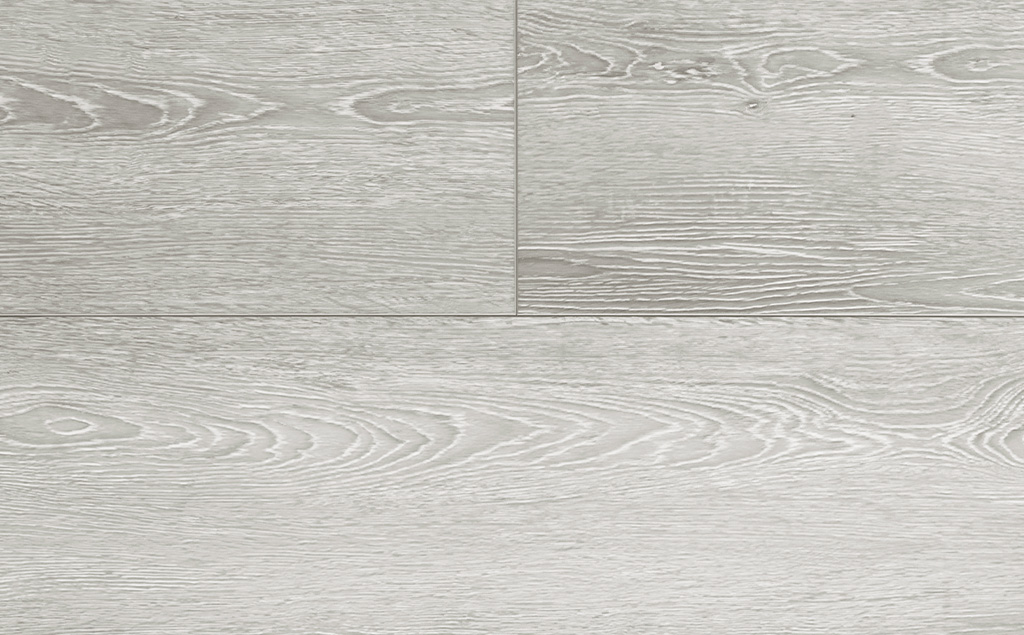
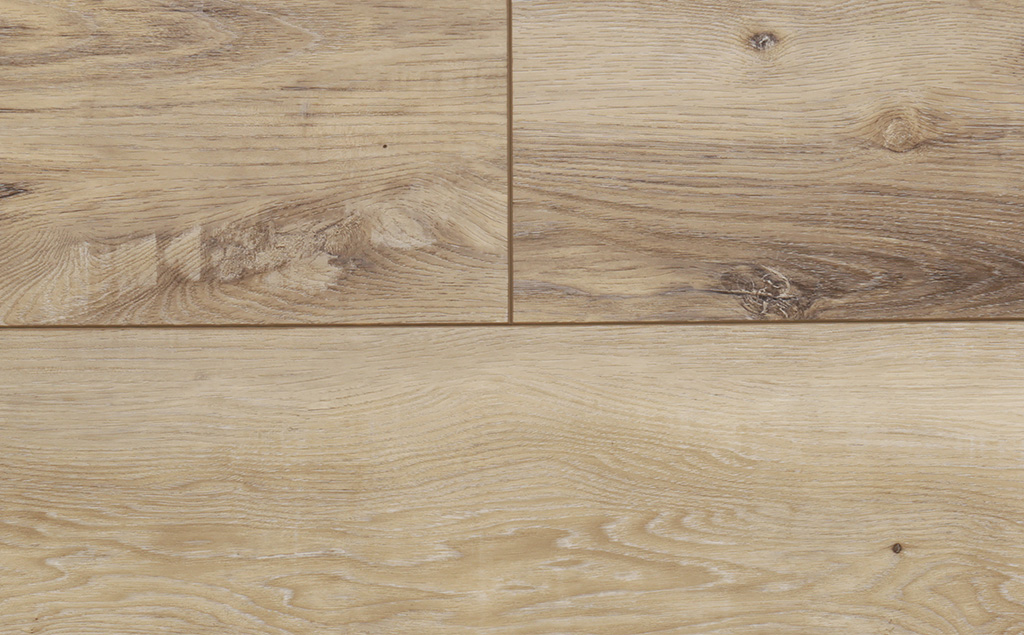
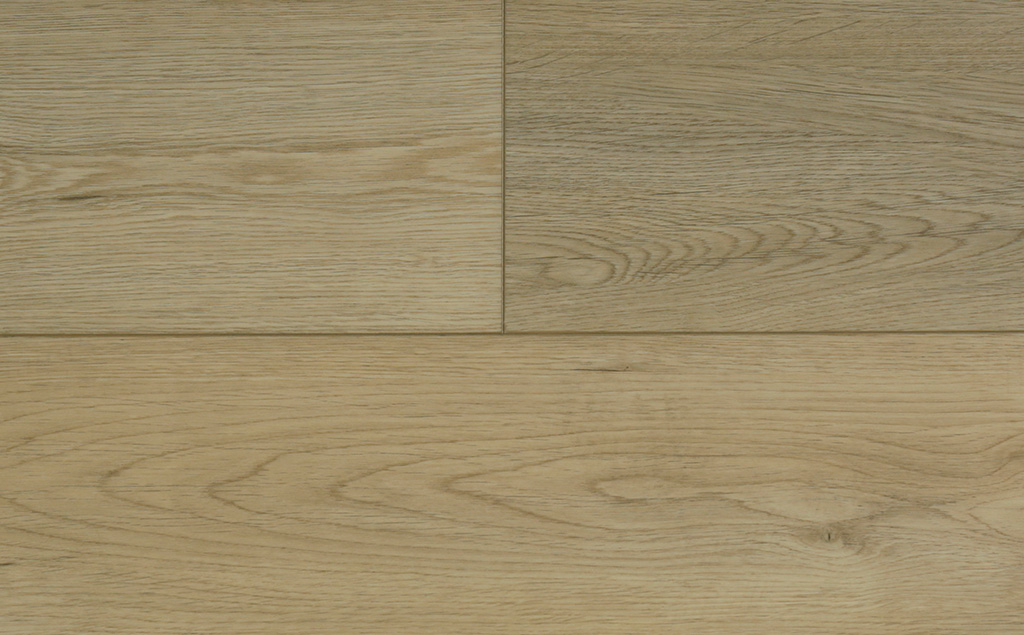
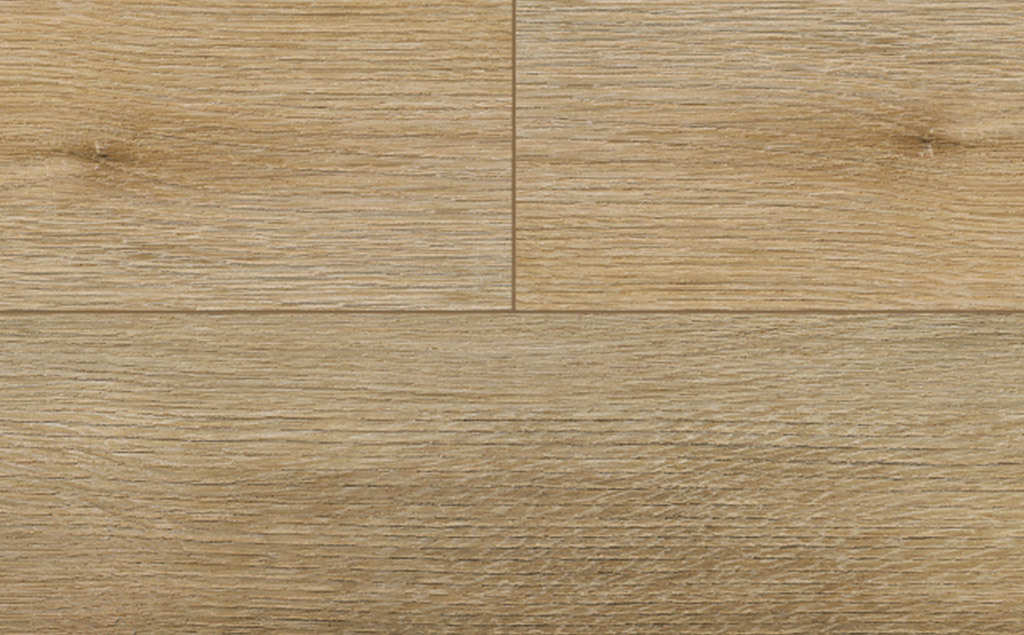
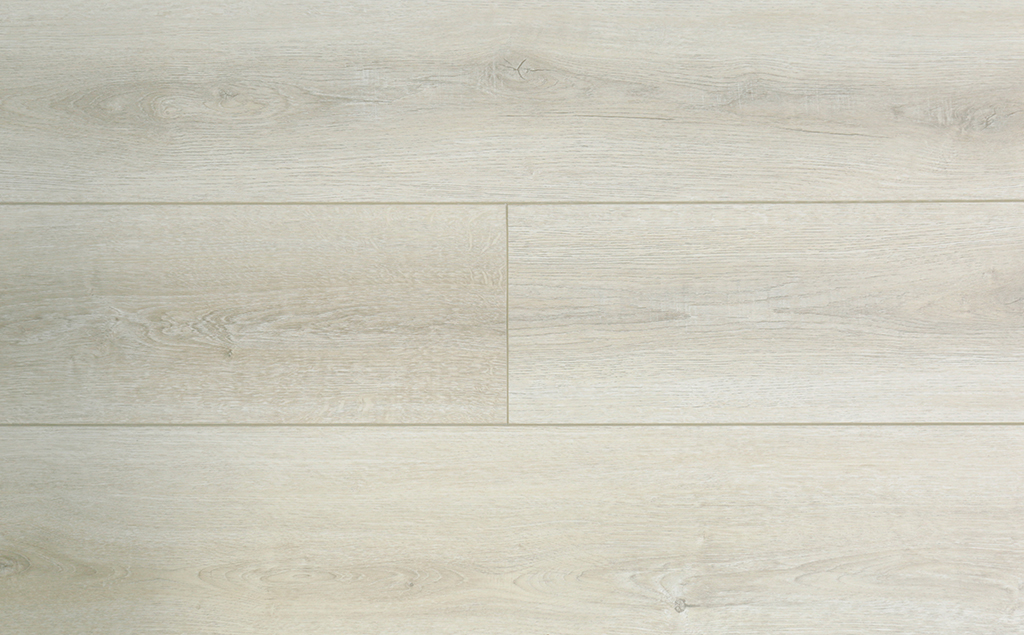
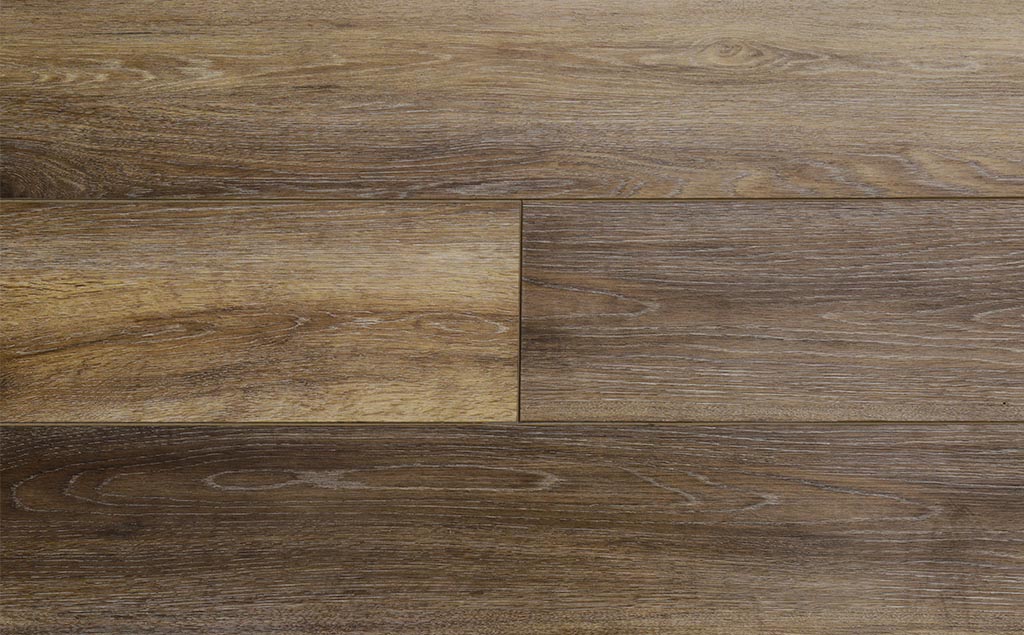
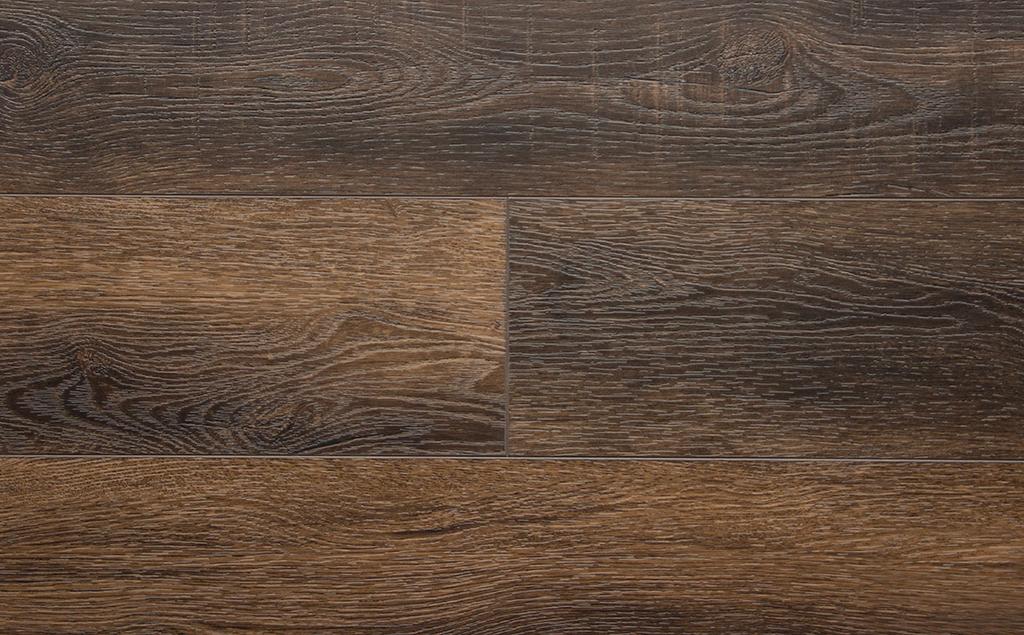
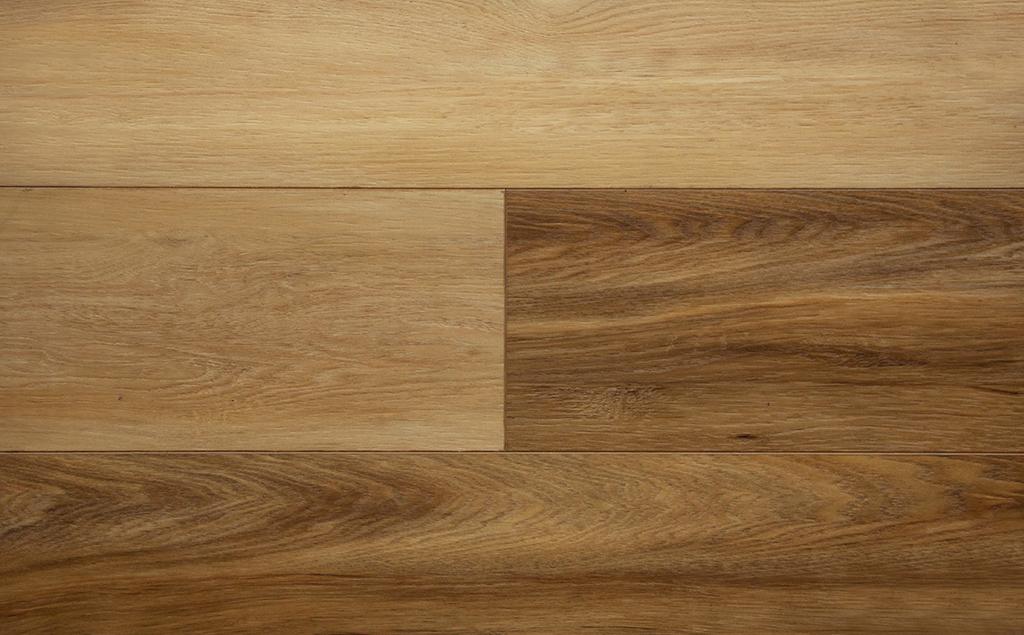
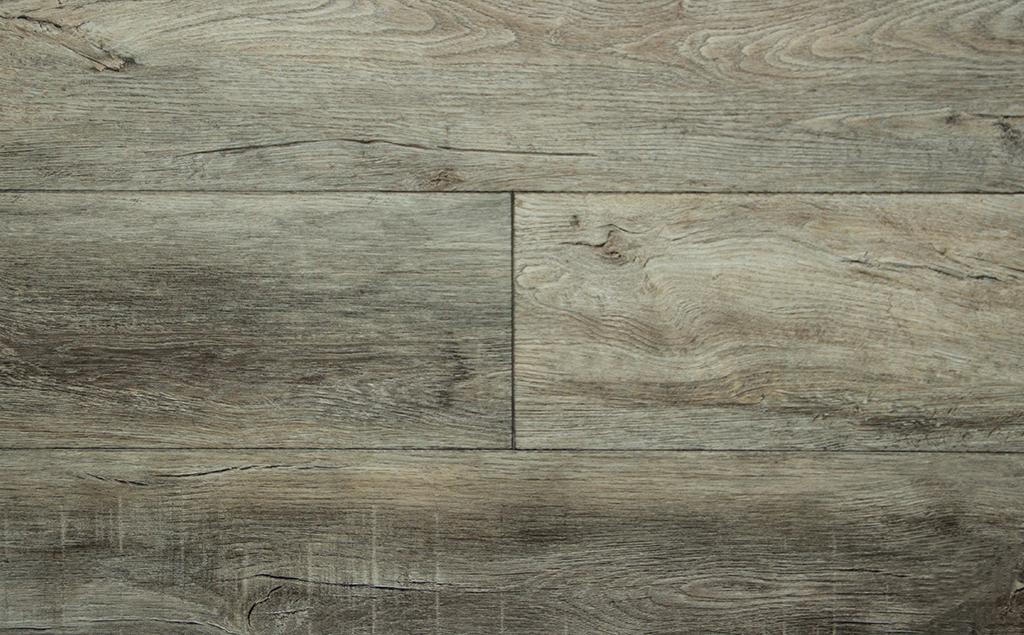
The Foundations Collection
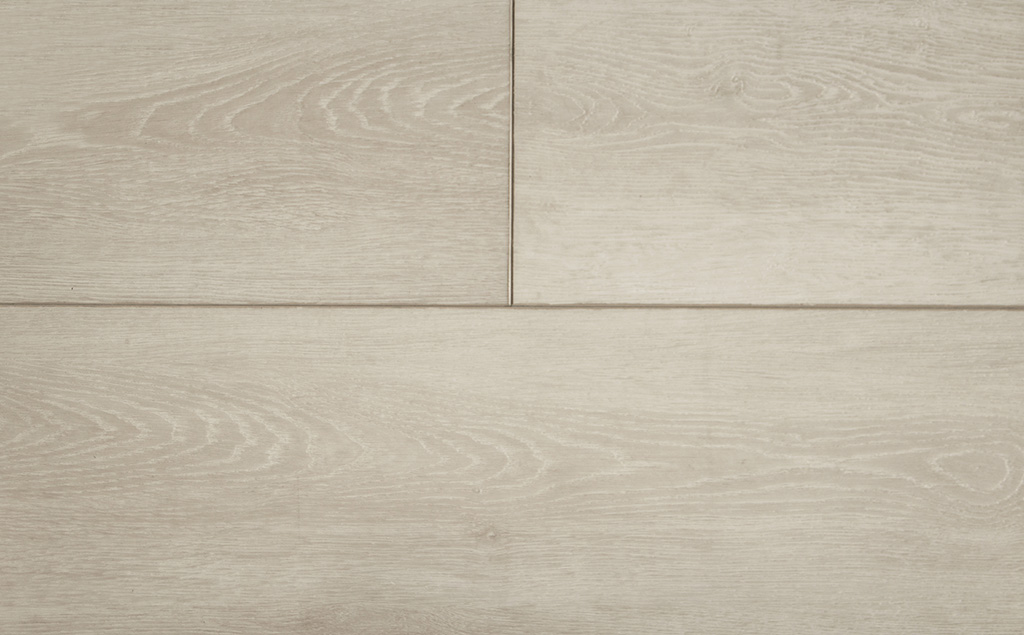
Explore the full Foundations Collection and discover why Audacity’s rigid core flooring is trusted by homeowners, designers, and builders alike.
Frequently Asked Questions
-
Can you install vinyl plank flooring yourself? +
Yes. Luxury vinyl plank flooring uses a click-lock system that needs no glue or nails and lays over most subfloors. Most rooms take a day or less.
-
Can you install vinyl plank flooring over existing floors? +
Yes, in most cases. Luxury vinyl plank flooring floats over concrete, wood, tile, and even one layer of existing vinyl, as long as the surface is flat, clean, and in good shape. Remove carpet first and check that the subfloor is level.
-
Does luxury vinyl plank need underlayment? +
Often no. Many Luxury vinyl plank flooring, including Audacity’s, have a pre-attached underlayment, so you only add one if the product calls for it.
-
Does luxury vinyl plank flooring need to acclimate before installation? +
No. Audacity’s luxury vinyl plank flooring needs no acclimation, so you can install it the same day it arrives, unlike laminate, which needs about 48 hours.
-
Can you install vinyl plank flooring on stairs? +
Yes. The slide-and-click system works on stairs. Measure each tread and finish the edges with stair nosing.
-
Can you install vinyl plank flooring in a bathroom or basement? +
Yes. Luxury vinyl plank flooring is fully waterproof, so it will not swell or buckle in bathrooms, basements, or other high-moisture rooms.
-
What are common mistakes when installing vinyl plank flooring? +
The most common are skipping the expansion gap, starting with an uneven first row, and not staggering the seams. Leave a 1/4 inch gap around the edges, get the first row straight, and offset seams from row to row.
-
Which direction should vinyl plank flooring run? +
Run the planks along the longest wall or toward the main source of natural light, which makes the room feel larger. Keeping the direction consistent from room to room also helps a whole-home floor read as one continuous space. This is also one of the easiest ways to lay luxury vinyl flooring in open-concept spaces.
Read More
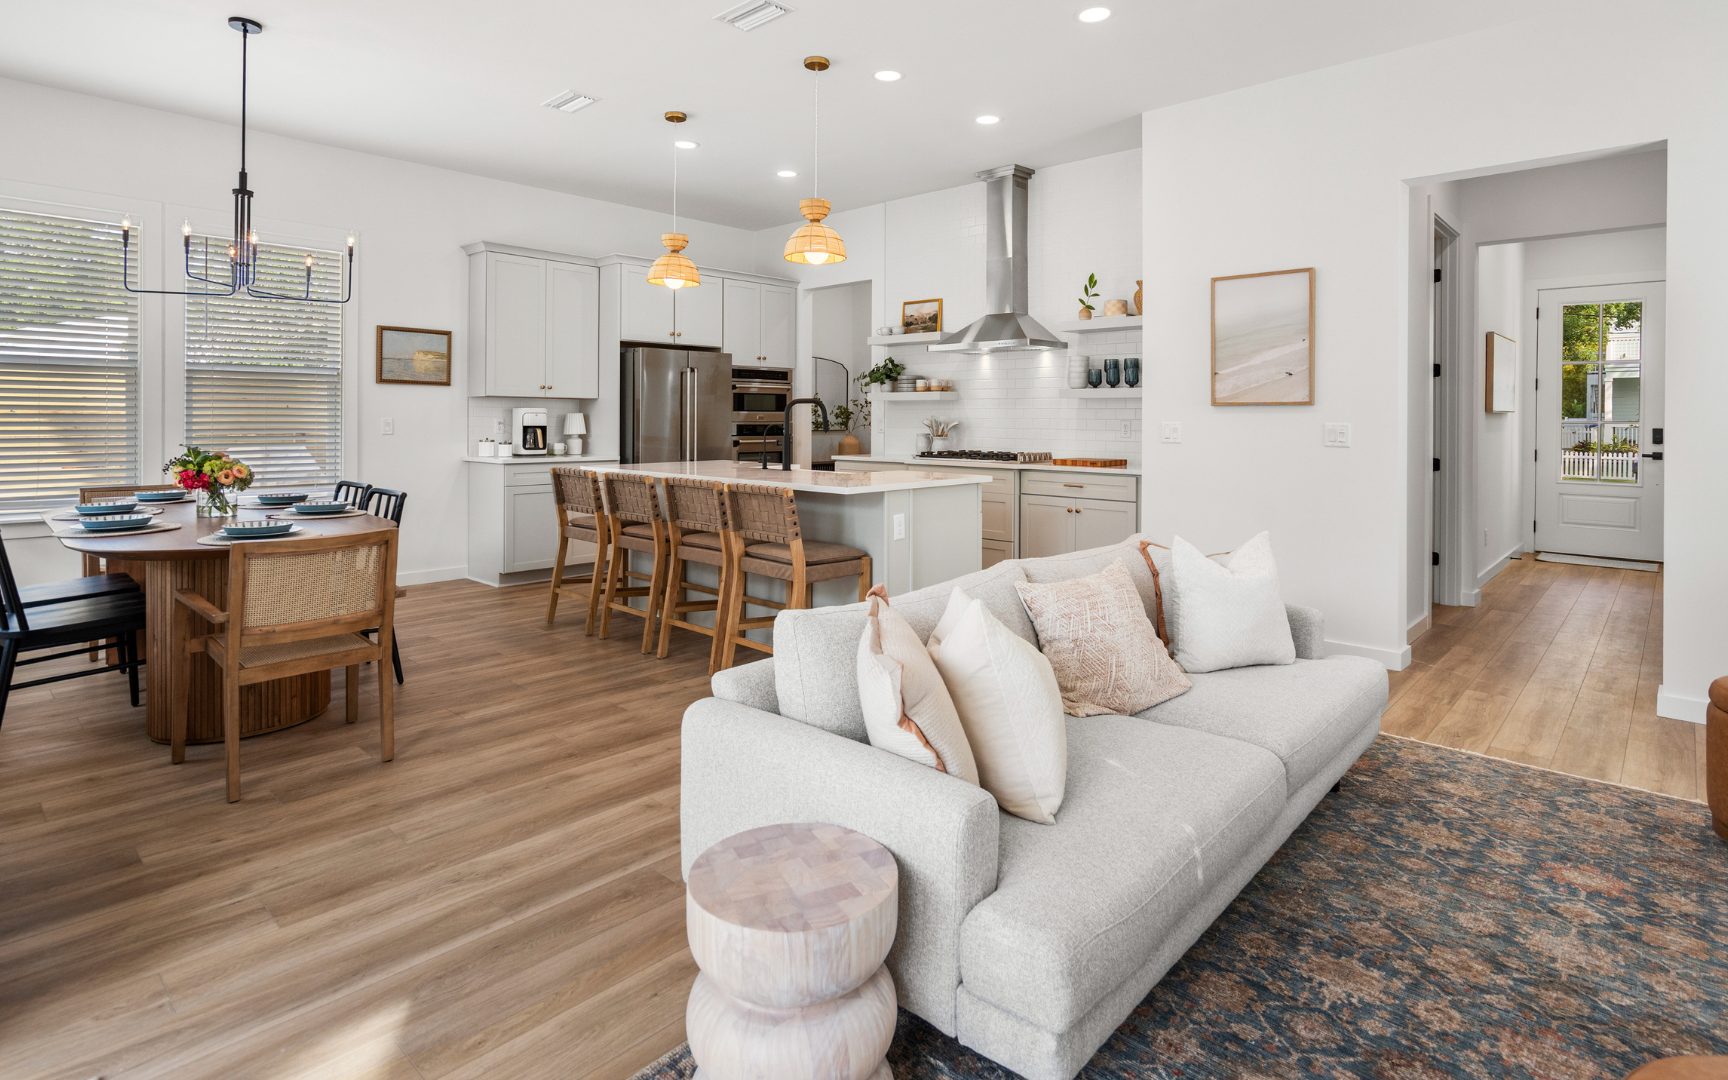
Inside a Florida Retreat with Made in the USA Flooring
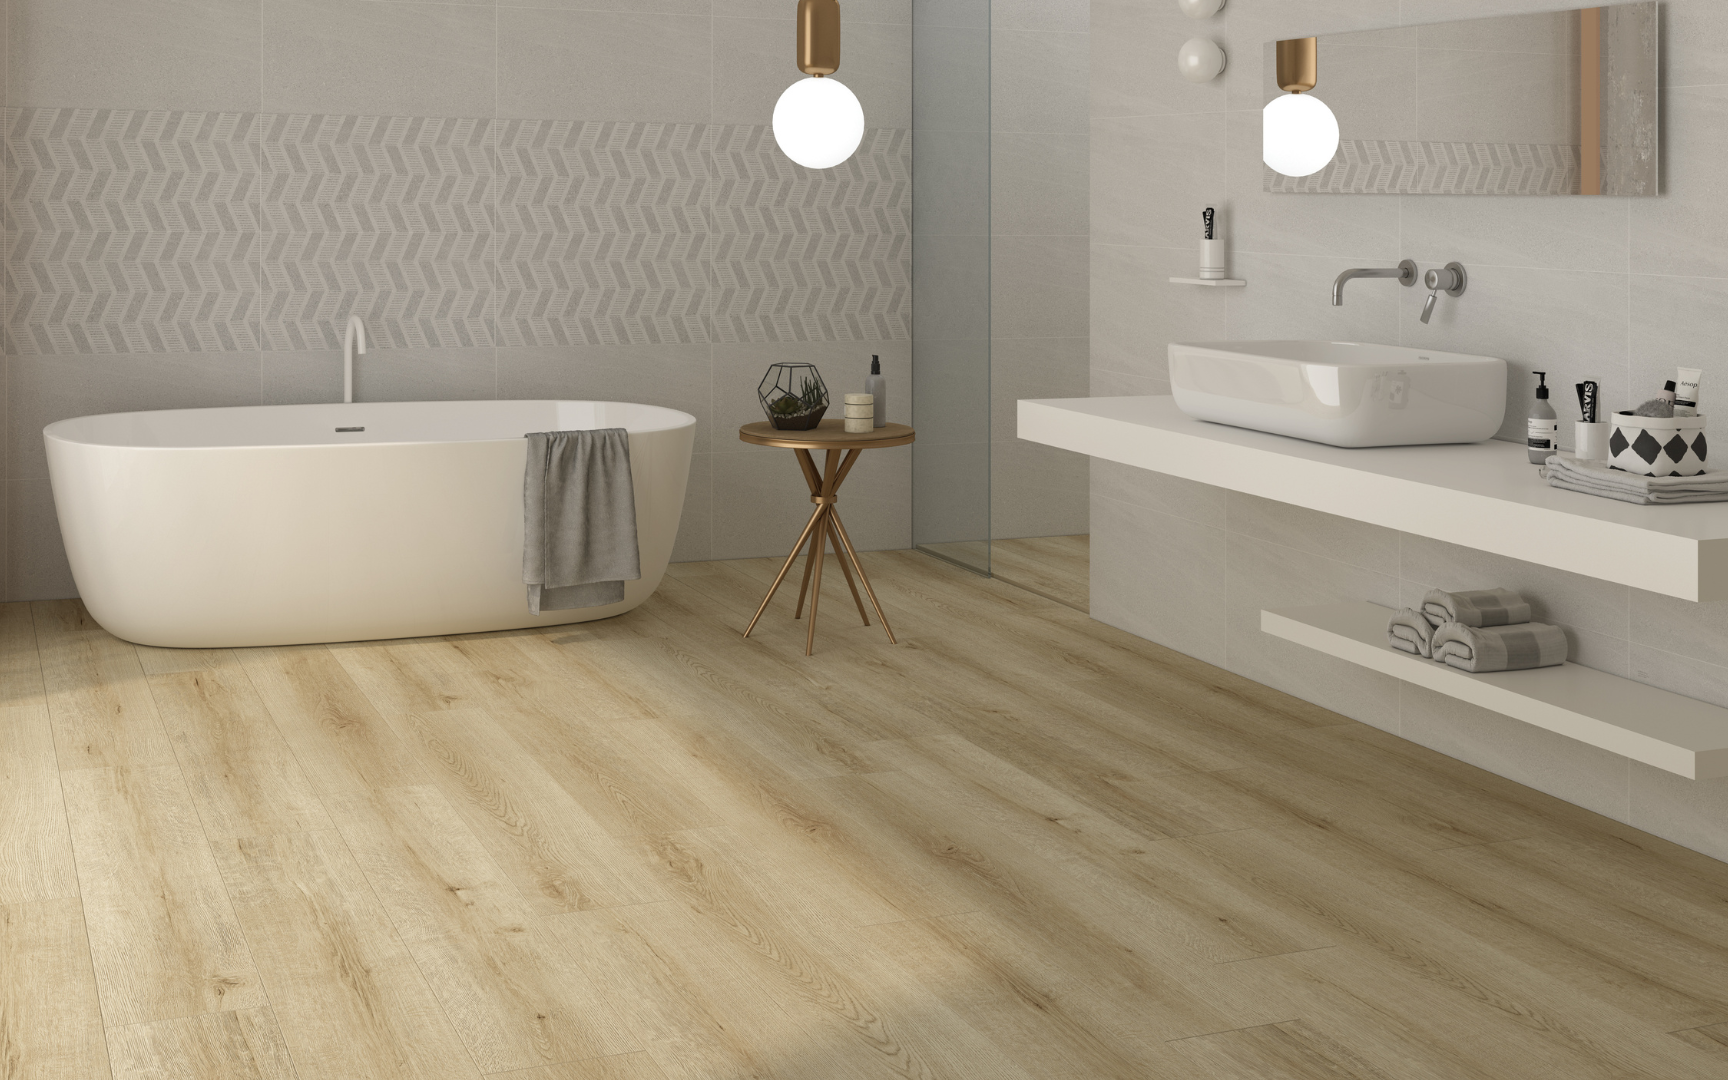
How to Install Laminate Flooring (Step-by-Step)
Find a floor for you
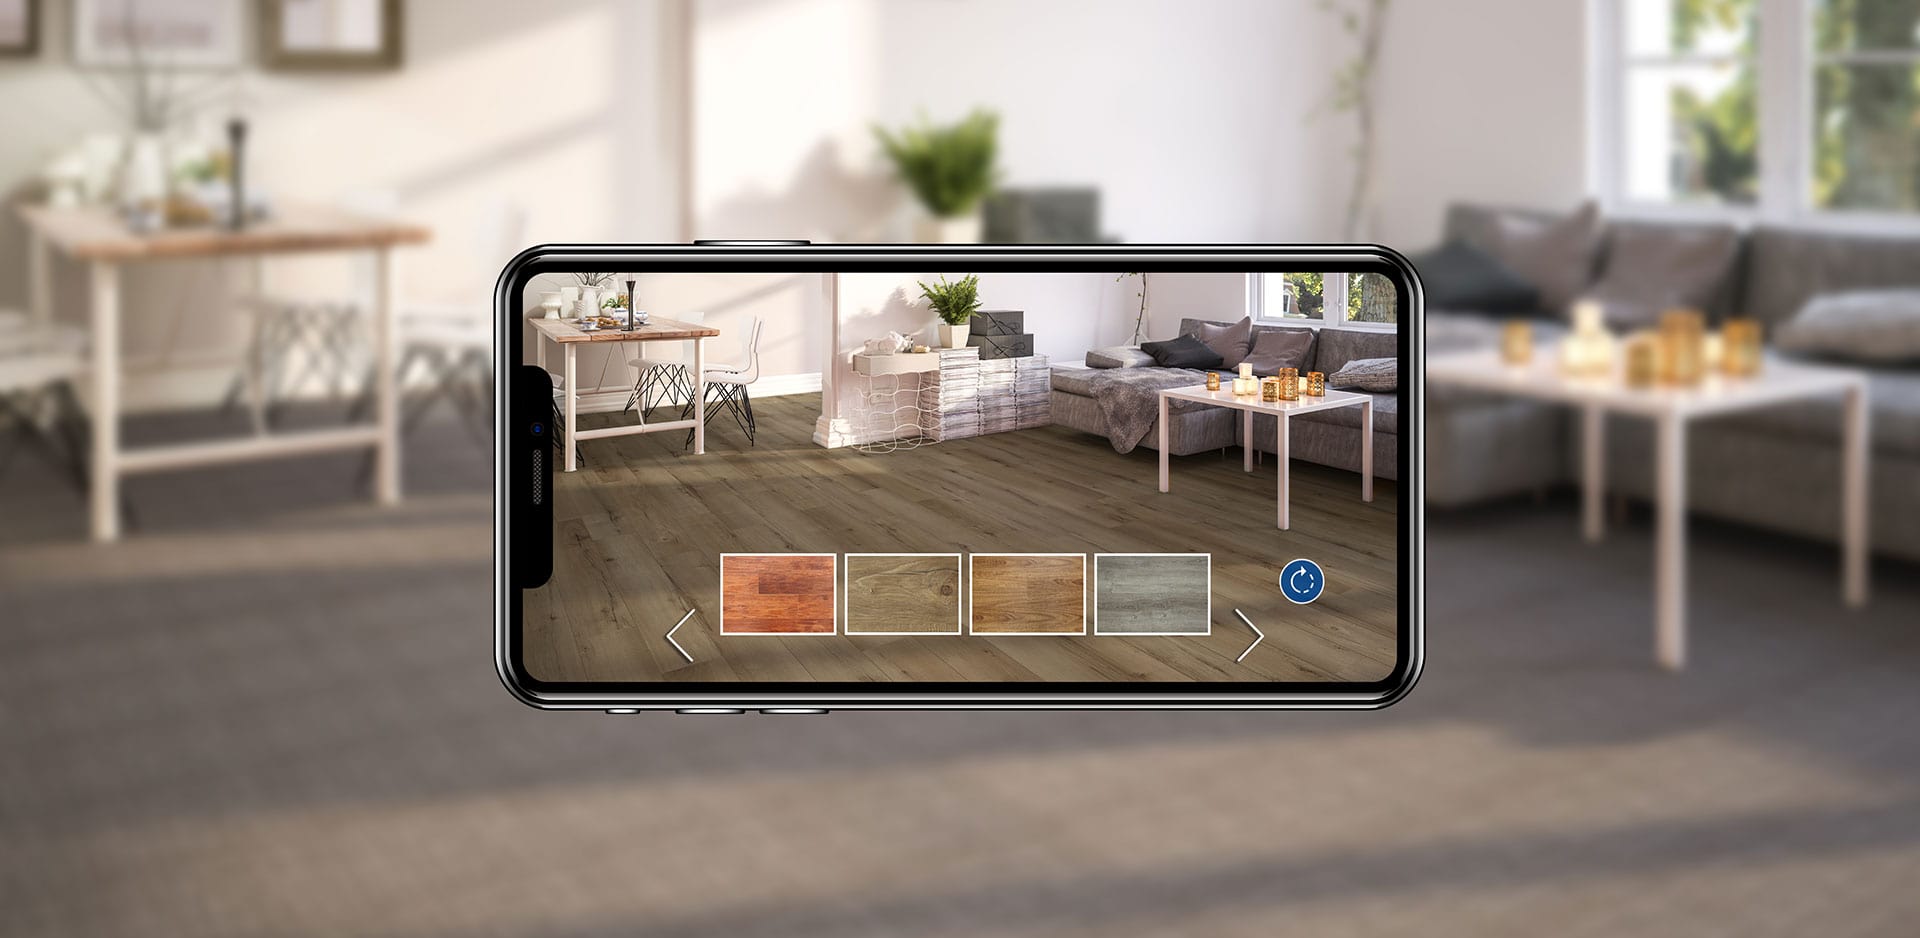
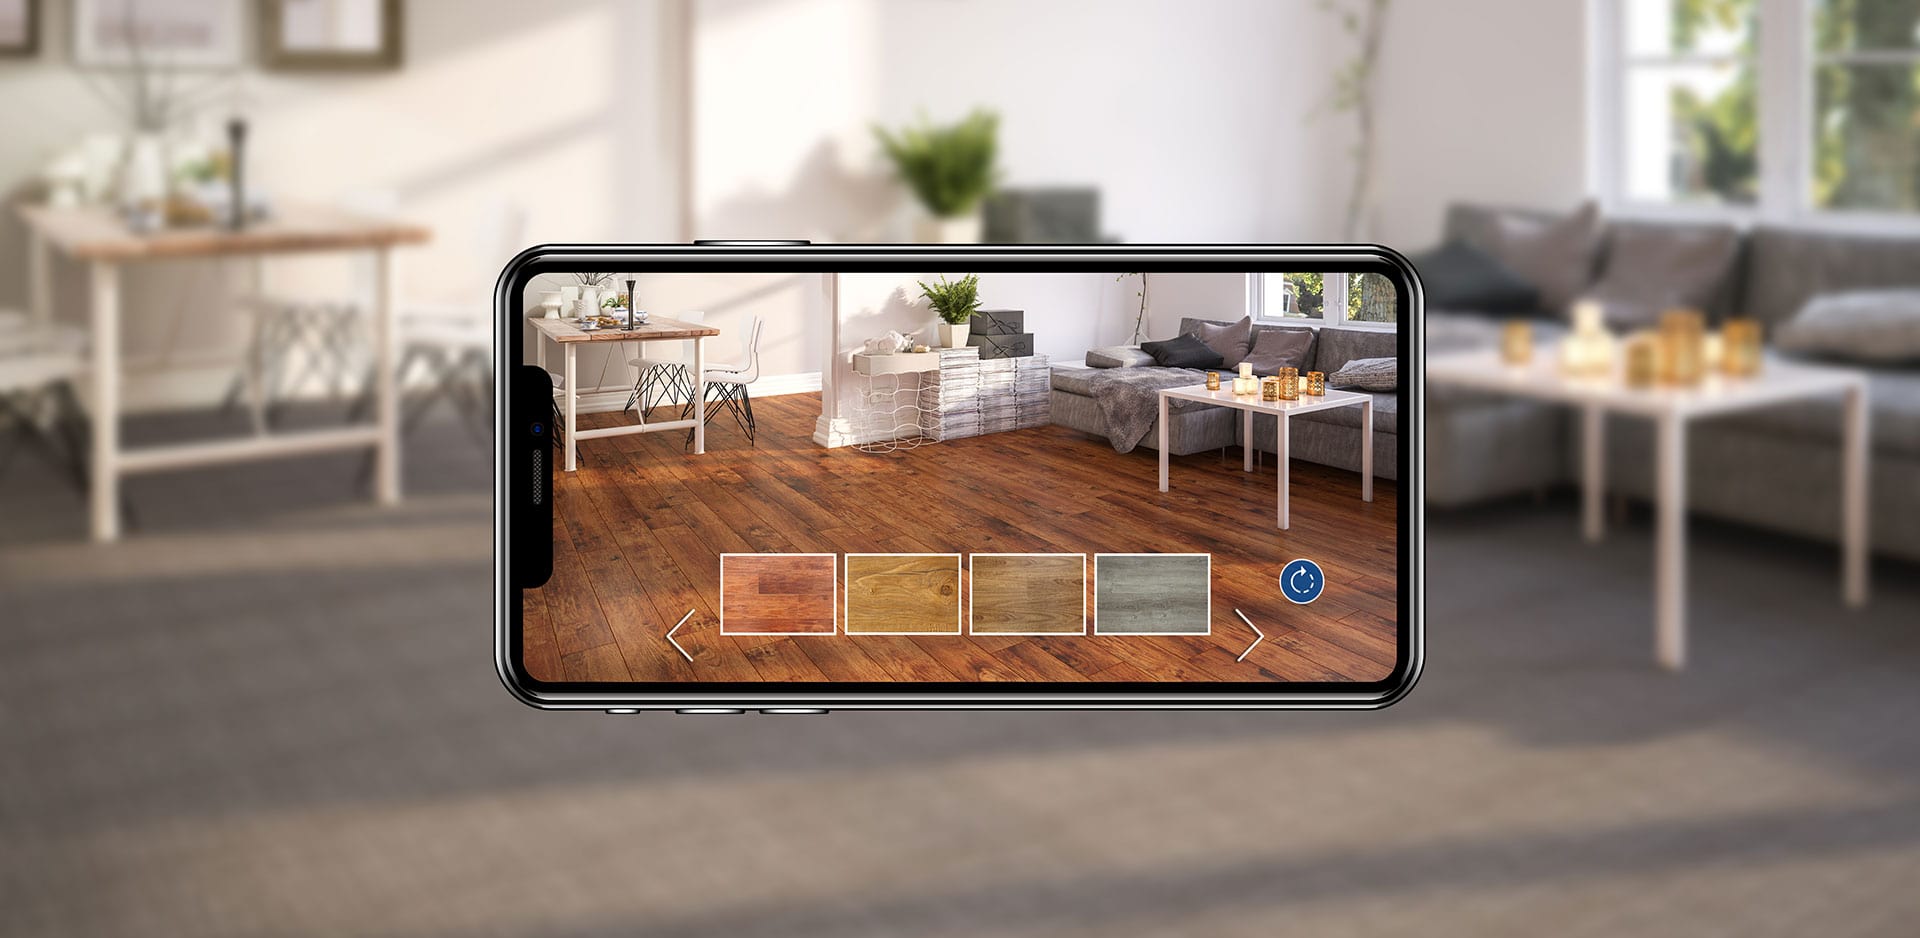
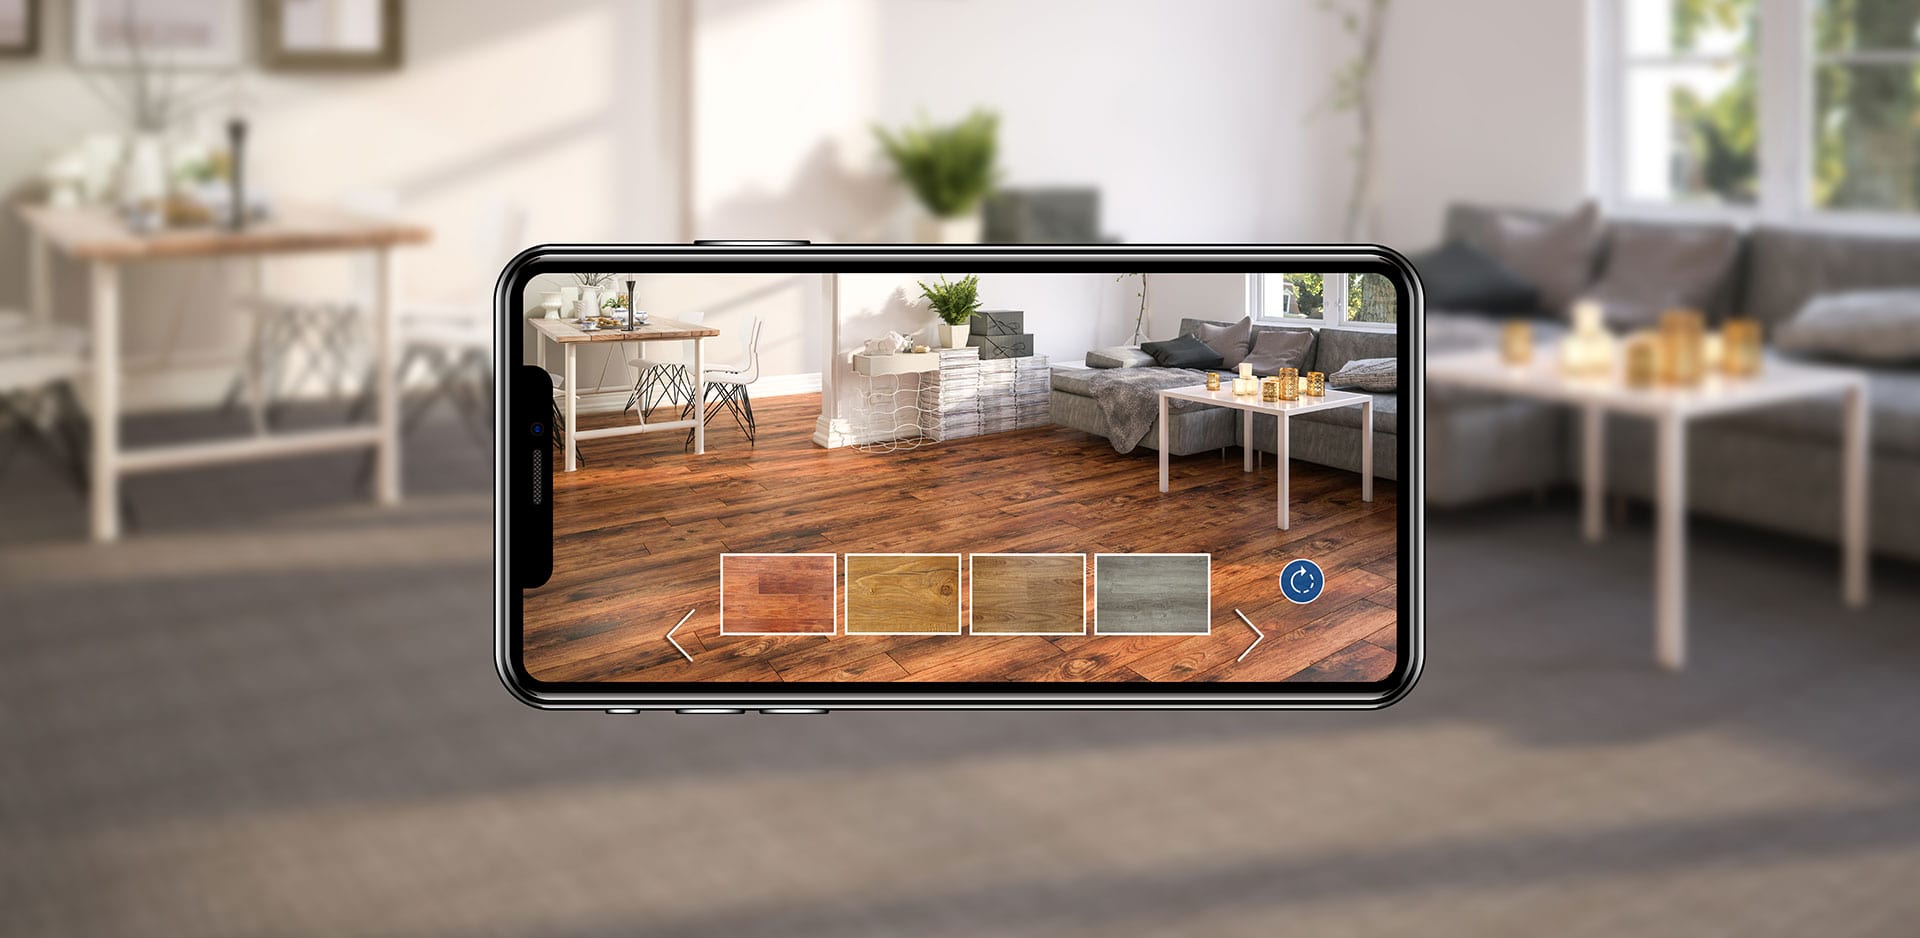
See how Audacity floors transform your space with Visualizer. Upload a photo and pick the perfect floor!

Need assistance? Fill out the form below to get in touch.